If Removing a Steering Wheel (Classic or Modern), Think BEFORE You Act…
By Kim Henson.
Whether your car is a recent model or an ageing classic, there can be occasions when the steering wheel has to be removed, possibly in order to remove the dashboard, or to gain access to the steering column controls, or even just to ‘centralise’ the wheel on its splines so that the spokes align in their correct positions.
In many cases this is a job that can be undertaken, with care, at home (more especially on classic cars). However there are some potential pitfalls, and some tips that can save time and effort, so I hope that the following notes may help…
- SAFETY FIRST!
If you are in any doubts about your own abilities to tackle this job, don’t attempt it; entrust the work to professionals. This is especially important in the case of any steering wheels that incorporate air bags. Great care/specific precautions need to be taken to ensure that the airbag(s) is(are) not triggered by any operations you are carrying out. Follow implicitly specific procedures and recommendations (incorporated into the manufacturer’s technical literature), and if you are unsure, don’t attempt the work yourself.
- If the steering wheel is already correctly aligned on the drive splines at the top of the steering column, but you need to remove the wheel for other reasons, it is a good idea to precisely mark the position of the wheel relative to surrounding components, BEFORE you remove it. One effective method is to stick a length of masking tape between the wheel hub/boss and the trim or section of the column immediately ahead of it, then to carefully break/cut the tape between the two. On re-assembly, the wheel can then be positioned in precisely the same place as where it had been originally. You could make temporary chalk marks to achieve the same result, but this method may be less accurate. Note that the splines are usually very fine, so unless you have datum marks to work to, it is all too easy easy to put the wheel back on in the wrong position.
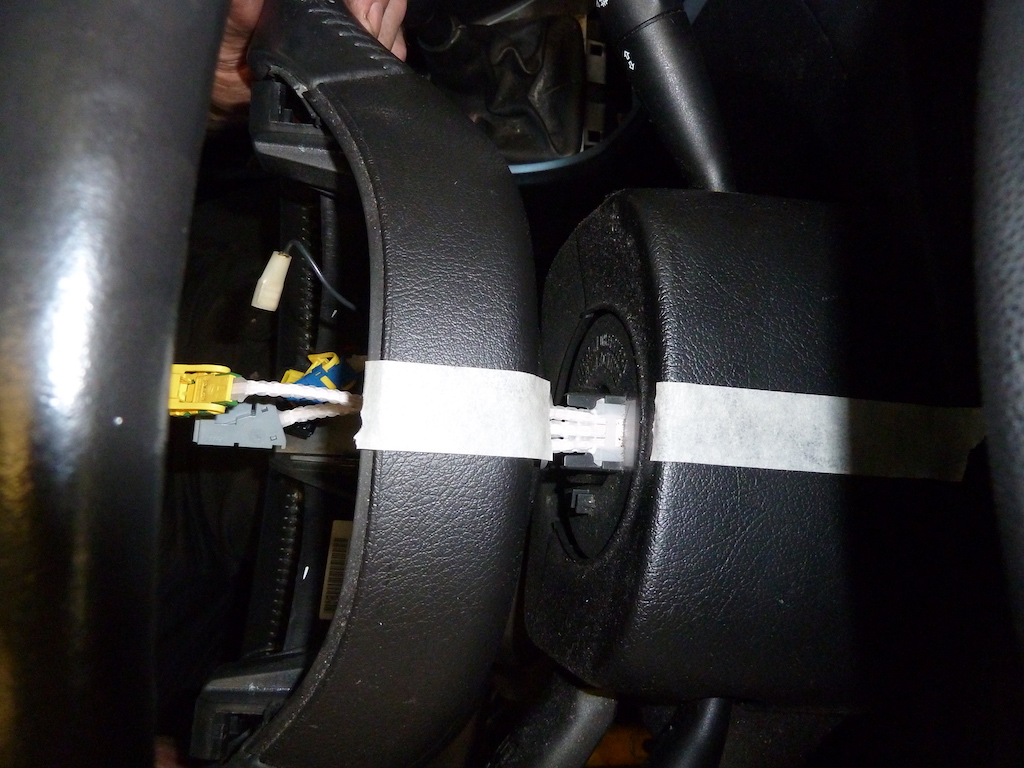
Masking tape can be used to mark the position of the steering wheel, prior to removal.
- Ideally when you remove the steering wheel, use a purpose-designed puller that will draw the wheel from the column splines. Alternatively you may be able to gently rock the wheel from side to side on its splines, to free it. However, when adopting this approach (or indeed if carefully tapping the wheel hub from below, using a soft-faced hammer), initially it is wise to leave the wheel’s securing nut/bolt/screw in place, so that if the wheel does suddenly come free, it won’t hurtle towards your face, where it could easily break your nose or seriously damage your teeth and eyes, etc. First, slacken the nut/bolt/screw, then screw it back in part-way until it grips securely, allowing a little room for the steering wheel to move safely when it first starts to move.
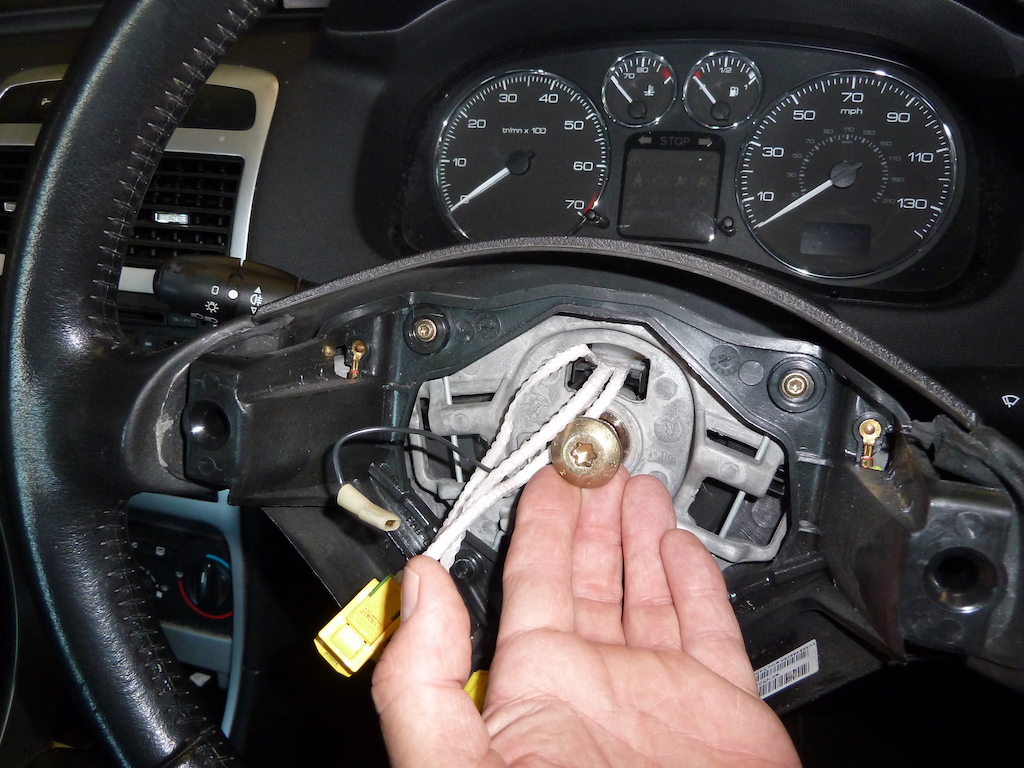
Leave the wheel’s securing nut/bolt/screw in place, partially loosened, when attempting to remove the wheel.
If the wheel is reluctant to move (often the case, especially if it has not been removed in many years), the application of a little penetrating oil around the steering wheel and column splines, should help. Apply sparingly (or it will run all over the car’s interior), and leave for a few minutes to do its work before trying again to remove the wheel.
Some mechanics advocate the application of a little copper-based anti-seize compound to the splines, on re-assembly. This should help to prevent seizure in the future.
- On re-assembly, ensure that all electrical wiring is correctly re-connected, and test the operation of all switchgear before taking the car out onto the road. Make sure too that the steering wheel is fully tightened in place (observe all manufacturer torque wrench settings – noting that these are usually quoted for ‘dry’ threads).
Lately I have used the above tips when removing the steering wheel from each of several different cars, and in each case the job has been accomplished without difficulty.
Good luck!