 Some aspects can be tackled at home…
Kim Henson explains.
If you are prepared to invest a little time and cash (but not much of that needed!) it is not difficult to smarten up your car by dealing with unsightly minor bodywork damage, and at the same time helping to protect against future deterioration…
Earlier this week I was approached by a colleague (we’ll call him Richard, as that’s his name!) asking for advice on the best approach to dealing with a small area of rust on the bodywork of his modern classic car, as he was keen to have a go himself at rectifying the problem. I gave him the following advice/my thoughts… I hope that it helps him, and also Wheels-Alive readers interested in tackling such work on their own cars. If carried out with care, such work can be very rewarding to have tackled yourself (and you will have saved money too).
There are several approaches to this type of rectification work. Of course, the once and for all answer is to cut out the rust, and to weld in new steel, before surface levelling and repainting the affected area. This is fine if you have access to, and are adept in using, welding equipment; alternatively you could entrust the job to professionals, but of course in this case the costs can add up.
I should add that for ANY structural repairs, it is essential that repairs are carried out by getting rid of any rust present, and welding in new steel
An alternative for tidying minor areas of non-structural bodywork is to abrade away/kill/remove as much rust as possible, and to treat/repaint the metal yourself. This will at least help to hold future corrosion at bay by preventing moisture and air reaching the surface of the steel.
I am not claiming that this method will necessarily give ‘concours’ results. Purists will correctly point out, and it should be borne in mind, that this approach may not be a perfect long-term solution, especially if any rust at all is left in the affected area, in which case it will eventually ‘grow’ again in the future. Having said that, if carried out diligently (and in particular eradicating as much rust as possible!), such repairs can vastly improve the looks of your vehicle, and help to protect it, for several years at the very least.
If, when carrying out non-structural body panel repairs, removal of the rust leaves a small hole in the panel, the use of a glass fibre paste, reinforced with strands of glass fibre, can bridge the gap. However, surface filler will then be needed to get the surface smooth enough for the application of paint (glass fibre paste is not intended to be a surface filler).
(Note that larger holes will require repairs by welding in new steel).
Glass fibre repair paste and body filler (in both cases ‘two part’ products that require to be mixed with a hardener in order to set solid) can be obtained from most motor accessory shops, or online.
ITEMS REQUIRED
Screwdrivers, ‘wet or dry’ (silicon carbide) abrasive paper (in a variety of grades of ‘roughness’), a mechanical sander (optional but saves time!), wood or cork backing block for the abrasive paper, ‘spirit wipe’ solution (also called ‘panel wipe’), ‘tacky cloths’, chemical ‘rust killer’ and/or anti-rust primer (zinc-based products are available, also ‘etch’ types that grip especially tenaciously!), top coat paint.
APPROXIMATE COSTS (TOTAL)
Typically about £20 to £30.
SAFETY FIRST!
When carrying out bodywork repairs, especially if abrading/grinding metal and/or rubbing down glass fibre/body filler, always wear protective goggles and a dust mask.
KIM’S TIPS
- Ideally for applying chemical rust treatments or paint, the ambient temperature should be about 15 degrees C or 60 degrees F, or higher.
- When rubbing down body filler/paint, ideally always use a flat-surfaced backing block; these are available in wood, cork or plastic, but you can cut your own wooden block from a suitable length of wood…
- Take your time when carrying out bodywork repairs; the quality of the finished job will depend entirely on the time and effort spent in preparation.
- If you are unsure of your own abilities, take your car to a professional body shop to obtain a quote for the work. Be prepared to pay substantially, since most car bodywork requires a great deal of time (and thus labour charges, as well as material costs) to achieve good results.
REPAIR MANUALS
Manuals contain much more useful information that can help you, on bodywork and mechanical aspects. You can get your repair manuals here: www.onlymanuals.com
LIKE THIS…
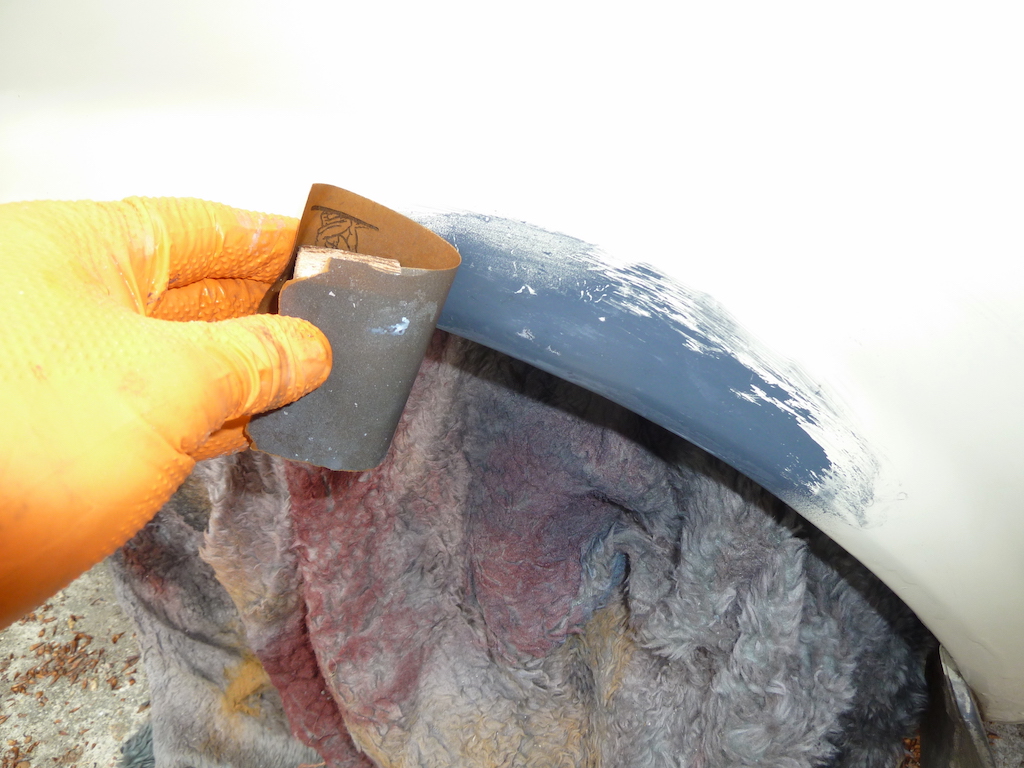
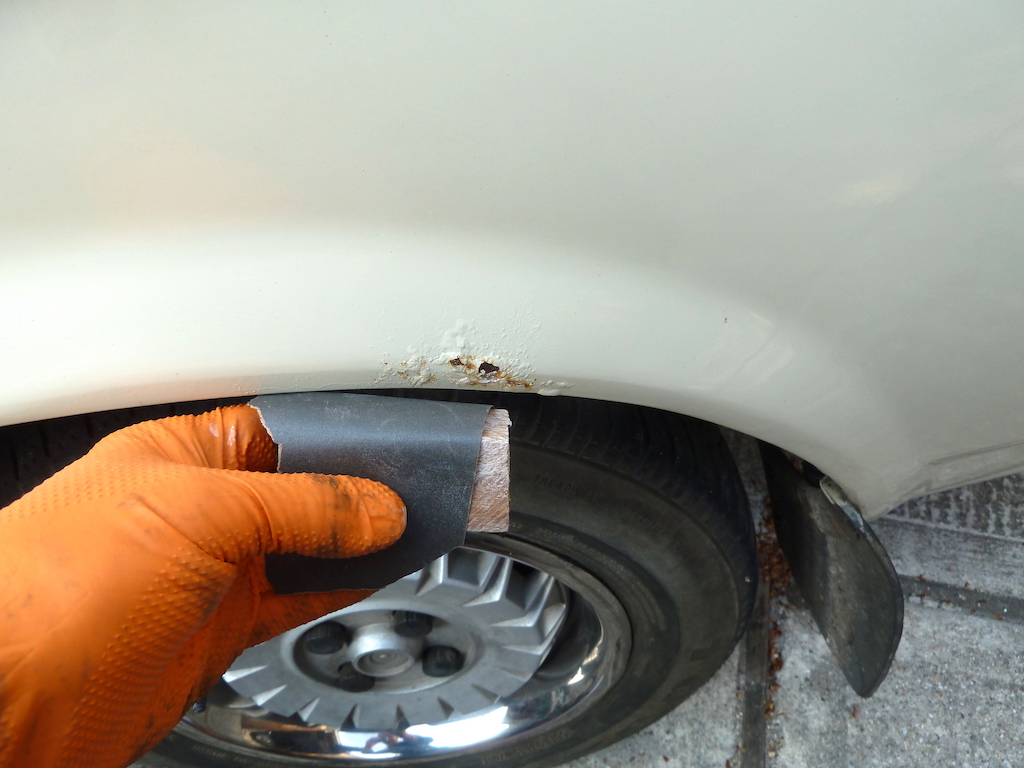 Abrade the surface to rid it of loose paint/rust. If existing rust and any bare steel is left exposed to the elements, the steel will turn to ferric oxide (rust) by chemical reaction with air and water. Use abrasive paper to get rid of the paint/rust; using a wood or cork backing block helps to keep the surface smooth.
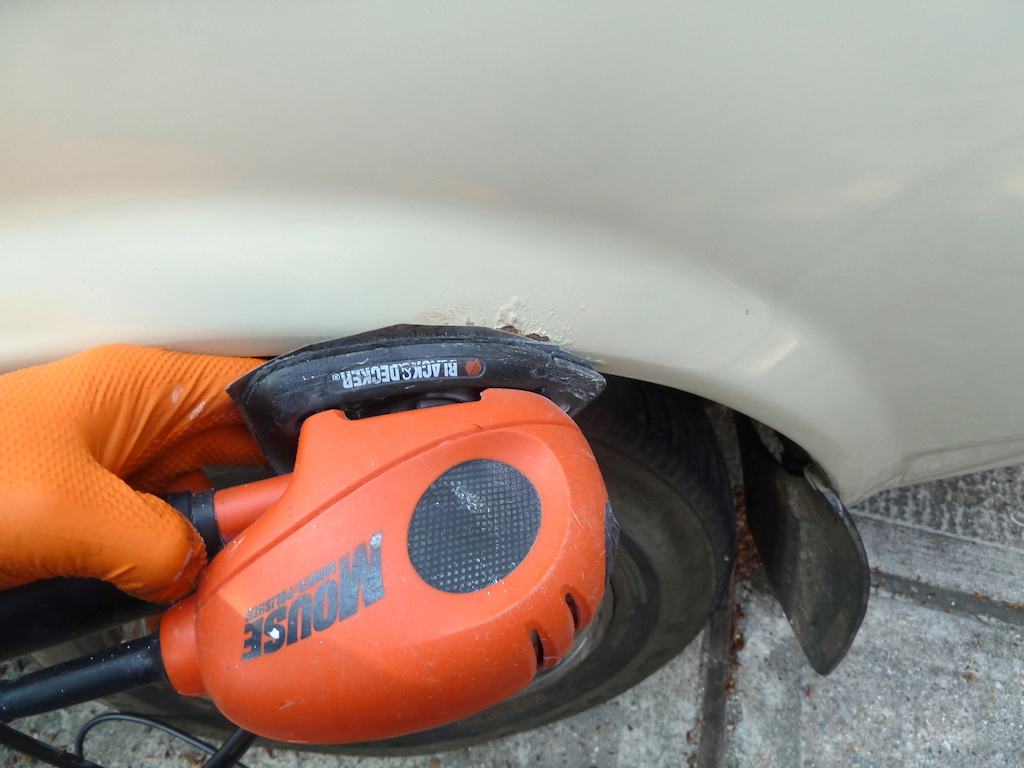 Rather than rubbing down/abrading the surface manually, an electrically operated sander/polisher machine can be used to help speed up the job (also for smoothing down body filler, once fully set). A small machine like this is ideal for many jobs around the car and the home, as it can be used in tight corners etc.
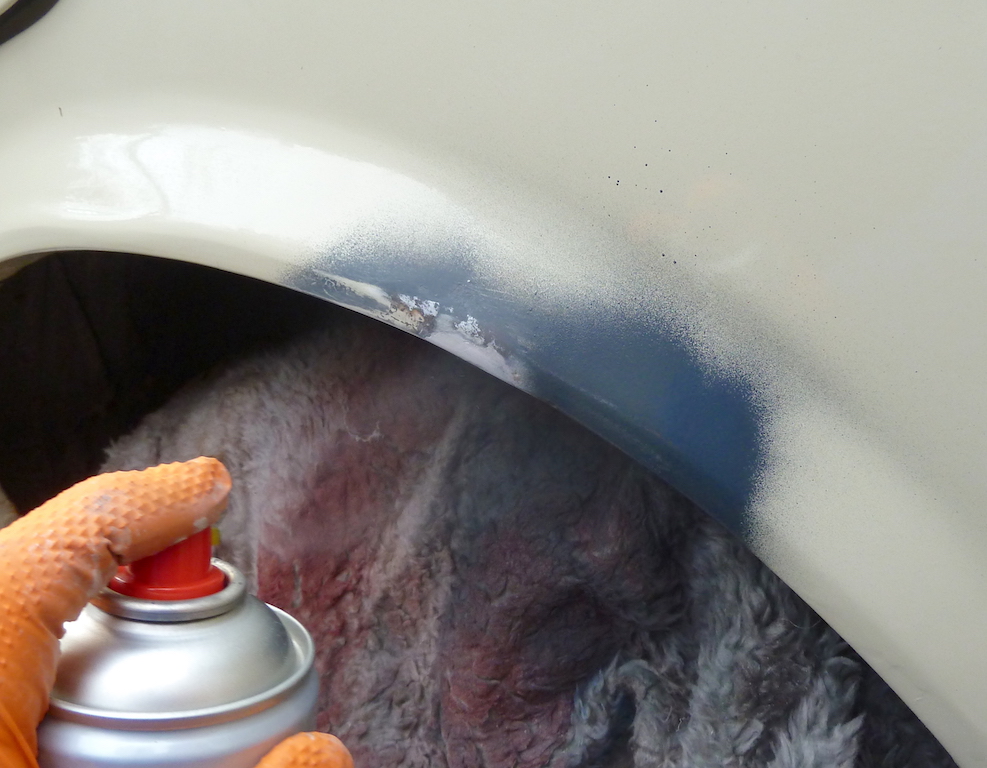
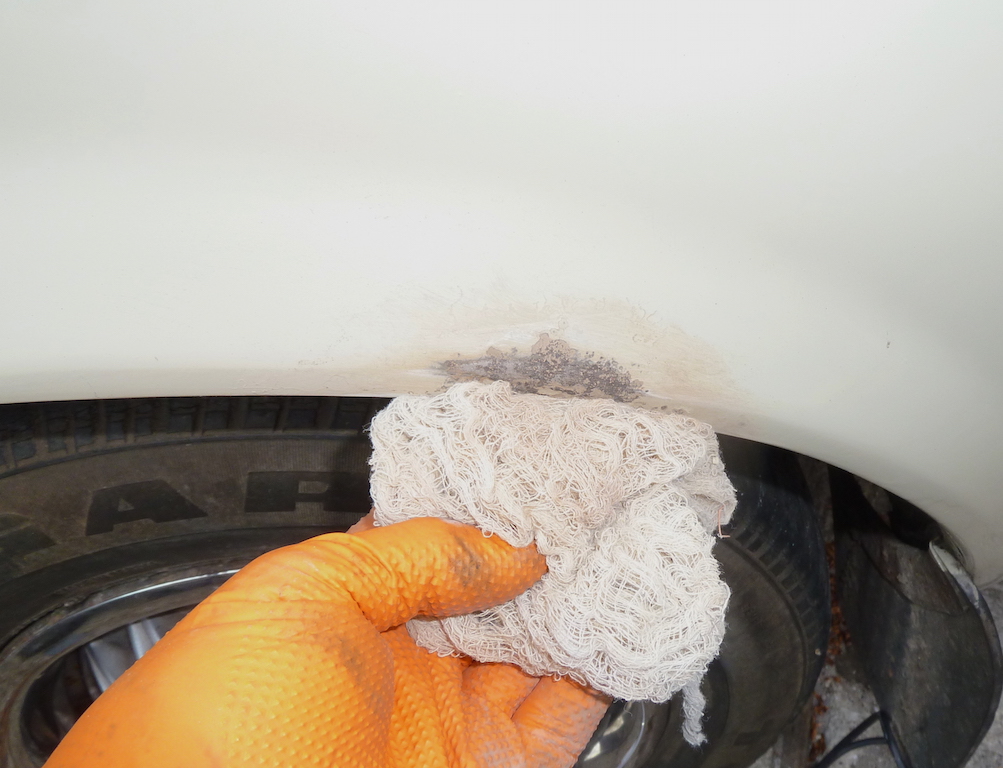 Once the loose paint and rust has been removed, any remaining dust can be wiped away using a ‘tack rag’, available from professional body shop suppliers and from many accessory shops. The rag has a sticky coating that attracts dust to it, leaving a clean surface. A chemical rust killer can now be applied to the steel.
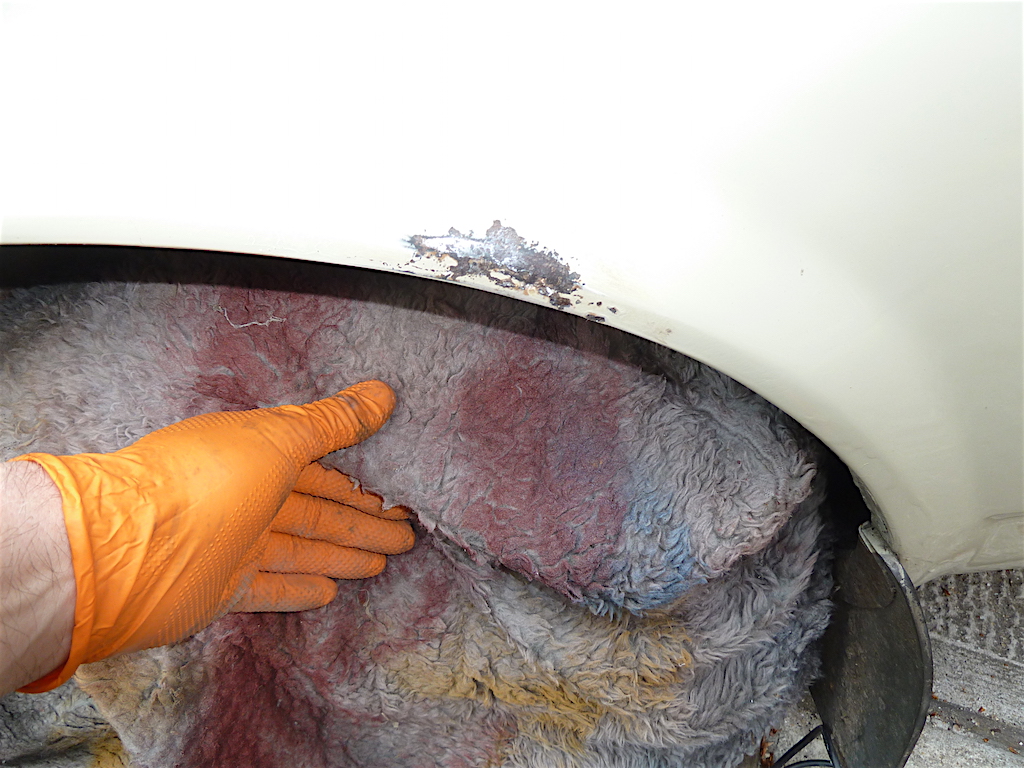 If you are working near to panels and components that you don’t want to cover with paint, mask them using masking paper and tape designed for the job. For covering a wheel and tyre, as on this car, I use an old seat cover; you can buy ‘proper’ wheel/tyre masks, if you prefer.
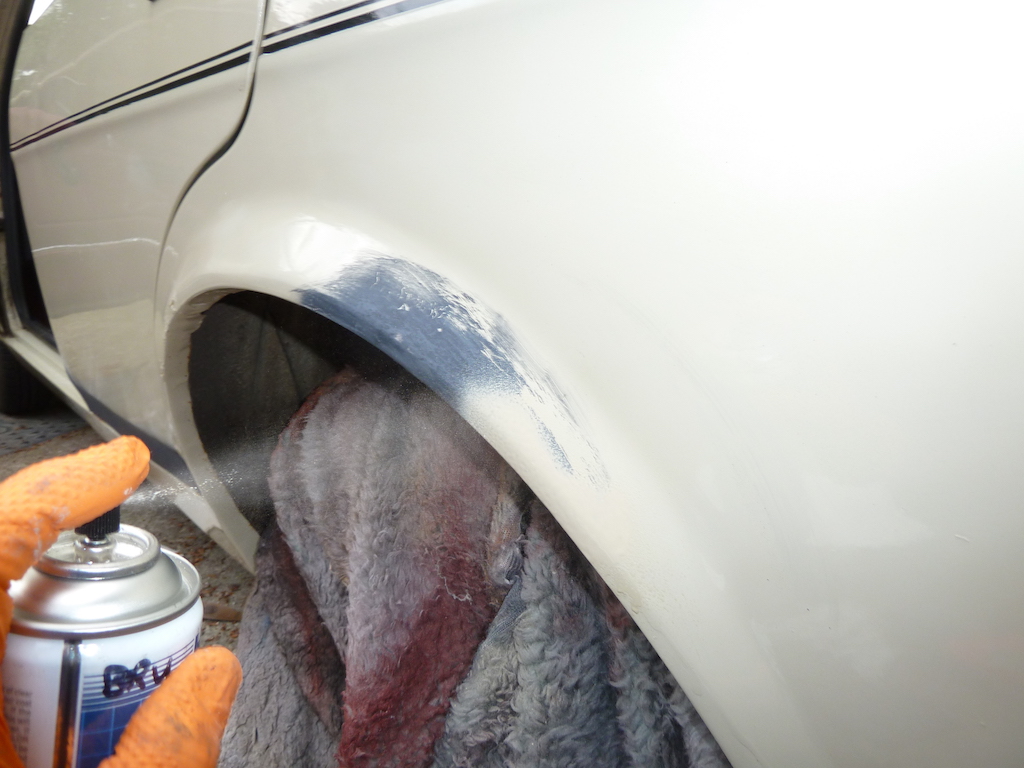
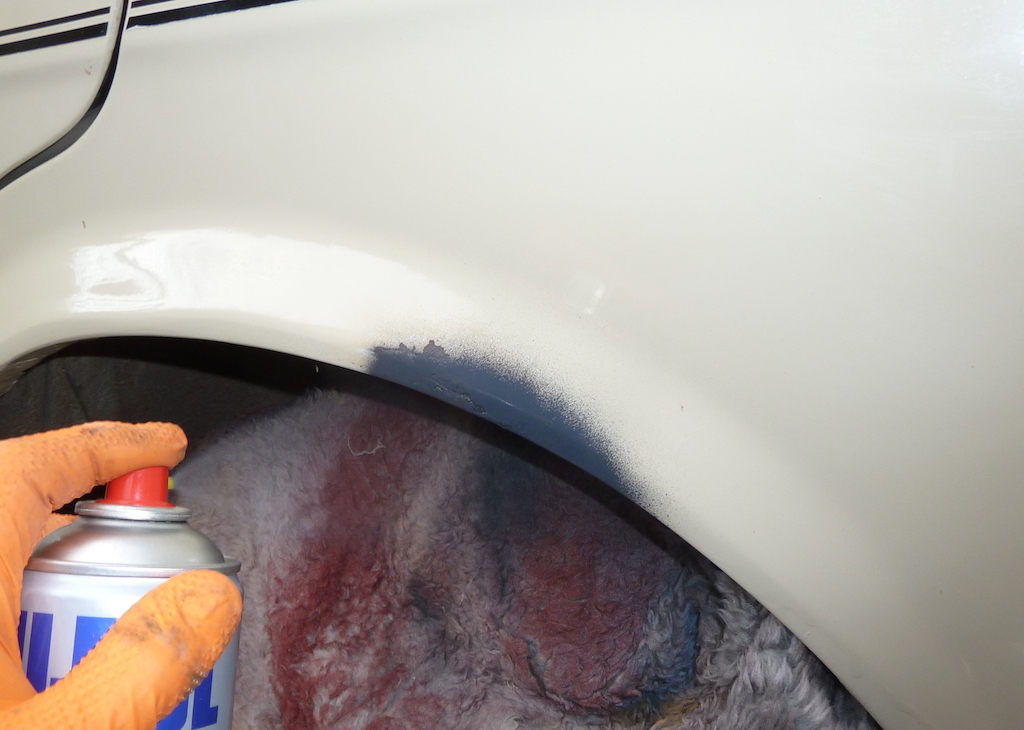 For small areas, aerosol cans of paint are fine – but always heed health and safety information provided on the can, especially with regard to wearing a protective mask when spraying. Apply several light coats of protective anti-rust primer to the area being worked on; don’t apply heavy coats or the paint will run.
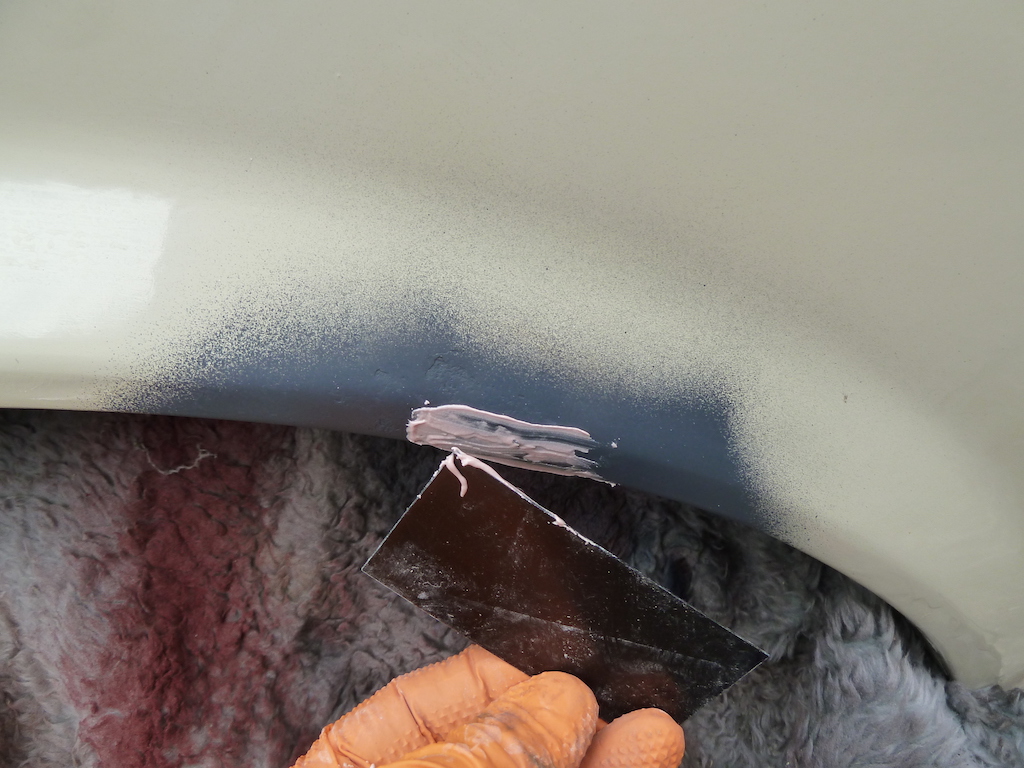 Body filler is intended for use on bare steel only, but once the primer coats have fully hardened (allow several hours), you can apply very thin skims to restore a smooth surface if there are slight indentations. Alternatively, purpose-developed ‘knifing stopper’ can be used straight from the tube/can.
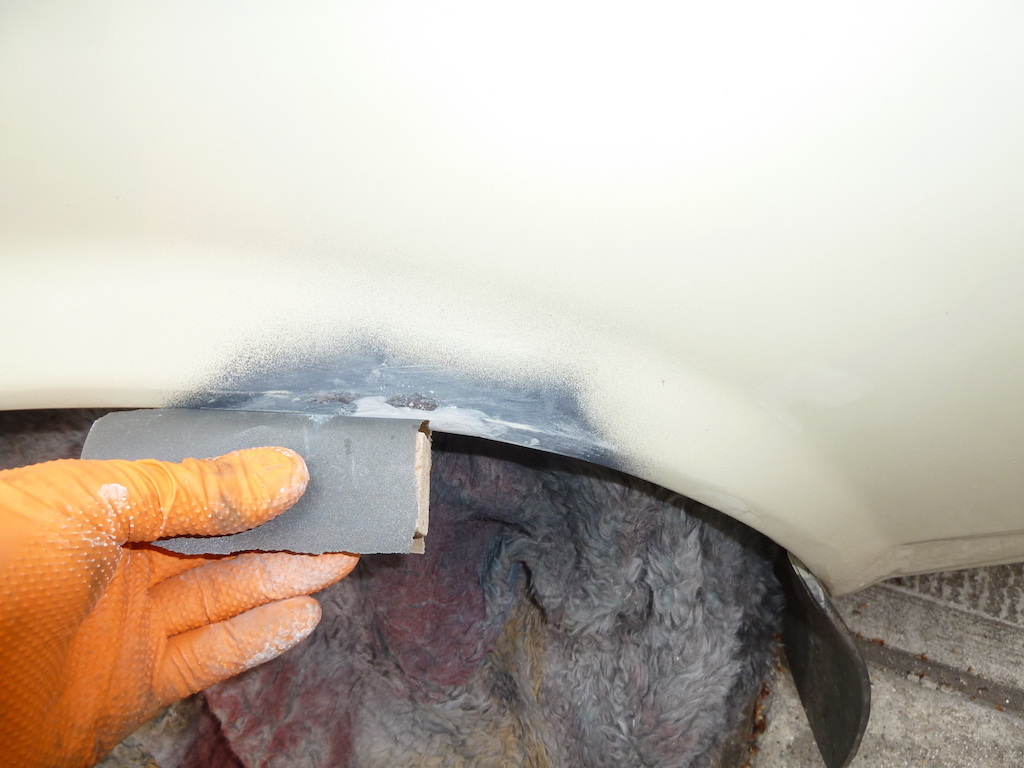 Allow the filler/knifing stopper to fully harden before rubbing down smooth with progressively finer grades of abrasive paper (for example, wet or dry paper, used dry, and in, say, 400, 600 and 800 grit sheets; the higher the number the finer the grit size, and the less the surface of the filler and paint will be scored).
 The surface MUST look and feel perfectly smooth before applying several thin coats of primer paint. Use your finger tips to identify any ridges and dips that need to be smoothed out, using a fine grade abrasive paper. Don’t rush this part of the job or the painted surface will never look right, and will always annoy you!
 Allow several hours to elapse before attempting to smooth down the primer surface. Use fine grit – 600 or 800 grade is suggested – ‘wet or dry’ (silicon carbide) paper, used ‘wet’. Dip the paper in a bowl/bucket of water (preferably warm); apply a little soap to the paper to lubricate the abrasive surface.
 Only when the surface is perfectly smooth should you apply top coats; build them up in thin layers; three or four coats provides long-term protection. If you are not sure of the correct colour for your car, the paint code may be included on an identification plate on the vehicle, or your local dealer may be able to help.