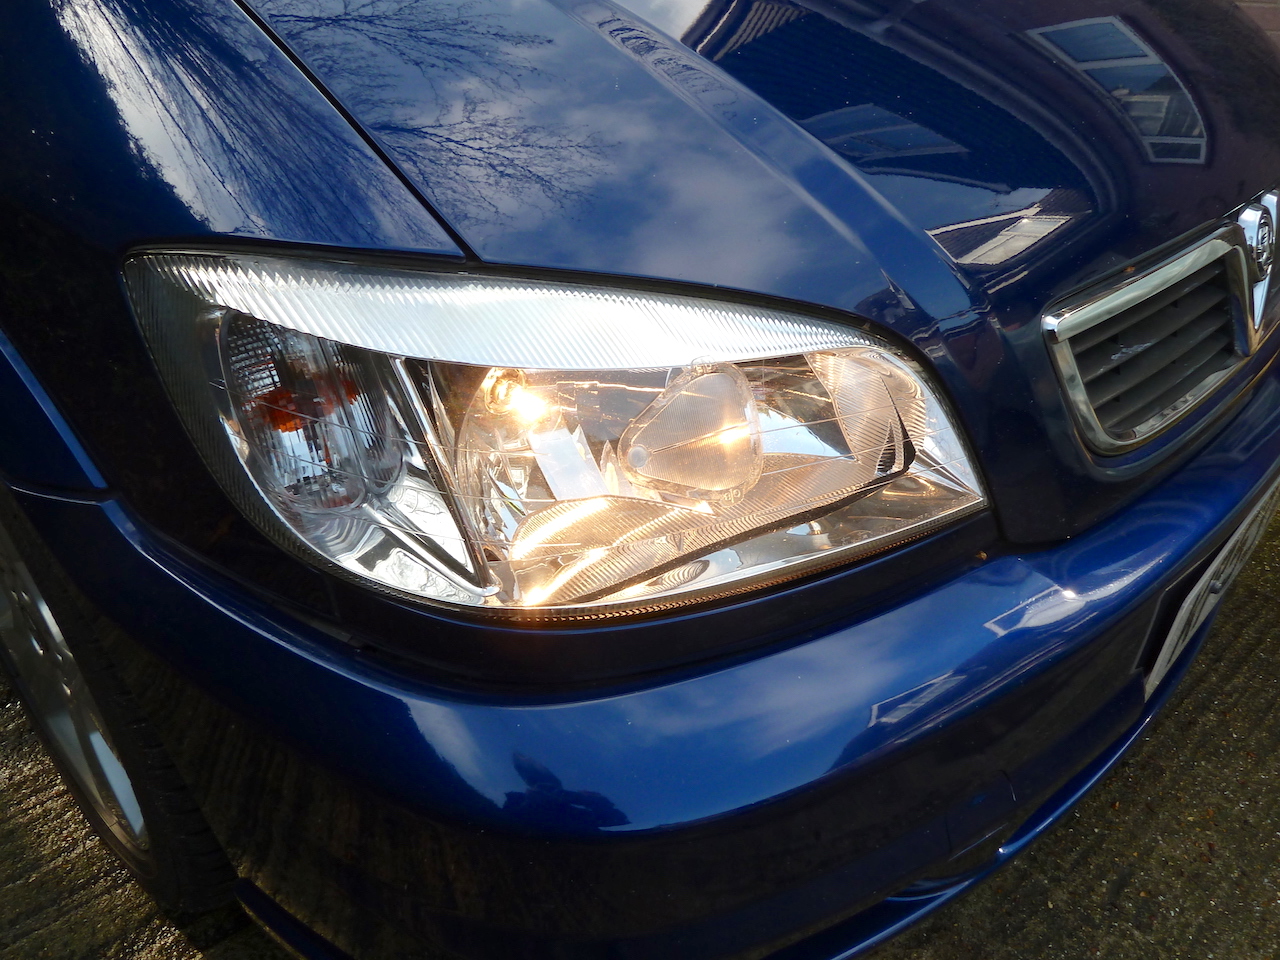
 Venturing overseas with your vehicle? If your headlamp beams are not properly converted for driving in other countries, this can have serious and expensive consequences…
Kim Henson reports.
As with so many things in automotive life, things have become more complex in terms of modern headlamp design and operation, compared with the units of a few years ago. In turn this impacts on what you can do to make sure that your lamps are legal when driving outside of the U.K.
To put things in historical perspective, it is interesting to note that, as reported in British motoring magazines of the time it was back in the summer of 1937 when France decreed that the headlamps on vehicles used in that country were obliged to produce yellow light.
This remained the position for many years, and for many motorists from Britain venturing abroad in the 1960s/70s, whose cars were equipped with circular Lucas headlamps (predominantly seven inch types), vehicle preparation for driving in France included the attachment (by elasticated clips) to the headlamps of yellow-coloured beam converters, constructed from see-through plastic. In those days huge numbers of British-built cars were fitted from new with these ‘standard’ Lucas headlamps.
In addition to turning the colour of the light beams from white to yellow, these clip-on yellow converters also redirected the beams towards the right-hand side of the road (from the left-hand side), to avoid dazzling oncoming drivers in France.
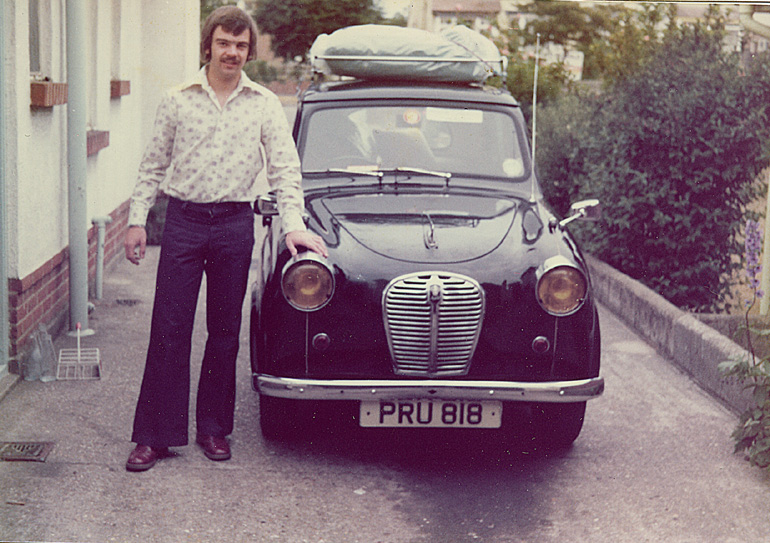
So far, so good, but as time went on through the late 1970s and 1980s, an increasing variety of different headlamp types, sizes and shapes were produced, across a wide range of manufacturers (including, of course, many makes and models imported from overseas).
In addition, in recent years the ‘yellow headlamps’ rule in France has been done away with. This meant that headlamp beams could be white, but it was still a requirement that the beams on British cars should be redirected towards the right-hand side of the road when driving (in France and indeed anywhere in Europe).
In order to cater for using these more recent cars (typically of the 1980s/90s) when travelling aboard, owners could buy stick-on black converters, which blanked out part of the beam to satisfy legal requirements. It is also worth noting that to save a few pounds some drivers preferred to manufacture their own stick-on deflectors using black tape…
Fast-forward to the 21st Century. We are now in a wholly different situation, with sophisticated, complex headlamp assemblies (including projector, clear lens and ellipsoidal types) with technologically advanced bulbs, that require specific beam deflectors, fitted in precisely the correct positions, in order to comply with the laws when driving abroad, and to prevent dazzle to others.
It should be pointed out that some recent vehicles incorporate a switch/control that automatically redirects the headlamp beams for driving abroad; it’s worth checking this aspect first (look in your car’s handbook and/or ask the dealer), before buying and fitting ‘accessory’ beam deflectors.
Assuming that your vehicle does not have such a switch/control, various types of high quality beam deflectors are available, with differences between them in terms of alignment/fitting. It should be mentioned that in recent years one of the main difficulties for motorists has been in establishing exactly where on the headlamp unit lenses/glasses the deflectors should be attached, in order for them to be effective. Very often, neither the car manufacturer’s handbook nor the instructions provided with the deflector kits, have been helpful in this regard. Making life a little more difficult in some cases is the fact that, very often, modern vehicles have no markings on their headlamps, whereas older cars used to have lines marked on them.
Before looking at a typical installation of the latest type of deflectors, it is essential to point out that when driving abroad, you MUST fit the beam deflectors before heading off from the ferry. The deflectors have to be fitted, even when driving in daylight hours. If you are stopped and your vehicle is found to be wanting in this respect, you may well have a heavy on-the-spot fine imposed.
In addition, these days the do-it-yourself manufacture of beam deflectors made of black sticky tape is NOT appropriate, and could be very costly.
First it is worth bearing in mind that black masking tape (for example) can absorb some of the headlamp beam output and convert it to heat energy. This can cause a hot spot on the lens (so eventually the lens may crack or, if plastic, it may take on a burnt/brown hue).
Next, and crucially… If it should be deemed that your vehicle is unroadworthy (because of ineffective or locally dazzling headlamp beams), your insurance may effectively be void. You could also be in trouble if your vehicle is involved in a crash and another driver claims that he was dazzled by your (illegal) headlamps…
So, my advice is not even to try do-it-yourself methods, and when buying headlamp converters, make sure that they are ‘proper’ items, made for the job. I’m all for saving cash when appropriate, but in my opinion, for peace of mind and to comply with all applicable laws, ‘cheap and cheerful’ is definitely not the way to go.
TRIED AND TESTED
My wife and I (plus friends) recently took our Vauxhall Zafira on an excursion to France. In the past I have experienced difficulty with some of the available converters, in establishing exactly where on the headlamp lenses the converters should be attached. This time I tried the converters supplied by www.headlampconverters.co.uk
I was especially interested in the mention in the instructions for these converters that, due to the design of the deflector, exact positioning of the converter on the headlamp is not critical (although of course the instructions should still be followed), so there is a little welcome flexibility in this regard.
As its name implies, this website specialises in headlamp converters (primarily for driving in France, but also suitable for other mainland European countries).
They say that their converters can be used on the latest models, including those using Xenon and HID bulbs, but also classic cars which have line patterns incorporated into the glass lenses.
By design, these converters redirect/bend the beams, so the lamps are still bright, without blocking the beams (which always reduces overall visibility).
They come complete with a small but comprehensive and easy to follow instruction leaflet and the suppliers offer a no-quibble money-back guarantee. It is said that the deflectors are easy to remove when back home in the U.K.
By the way, these deflectors/converters are also said to be suitable for use on left-hand drive cars for use in Britain…
The price? £5.99 including free U.K. delivery (and a special price is available to buyers of two sets).
STEP-BY-STEP
The following picture/caption guide shows how the deflectors were fitted to my Zafira, in conjunction with the instructions provided… Tackle each headlamp, one at a time!
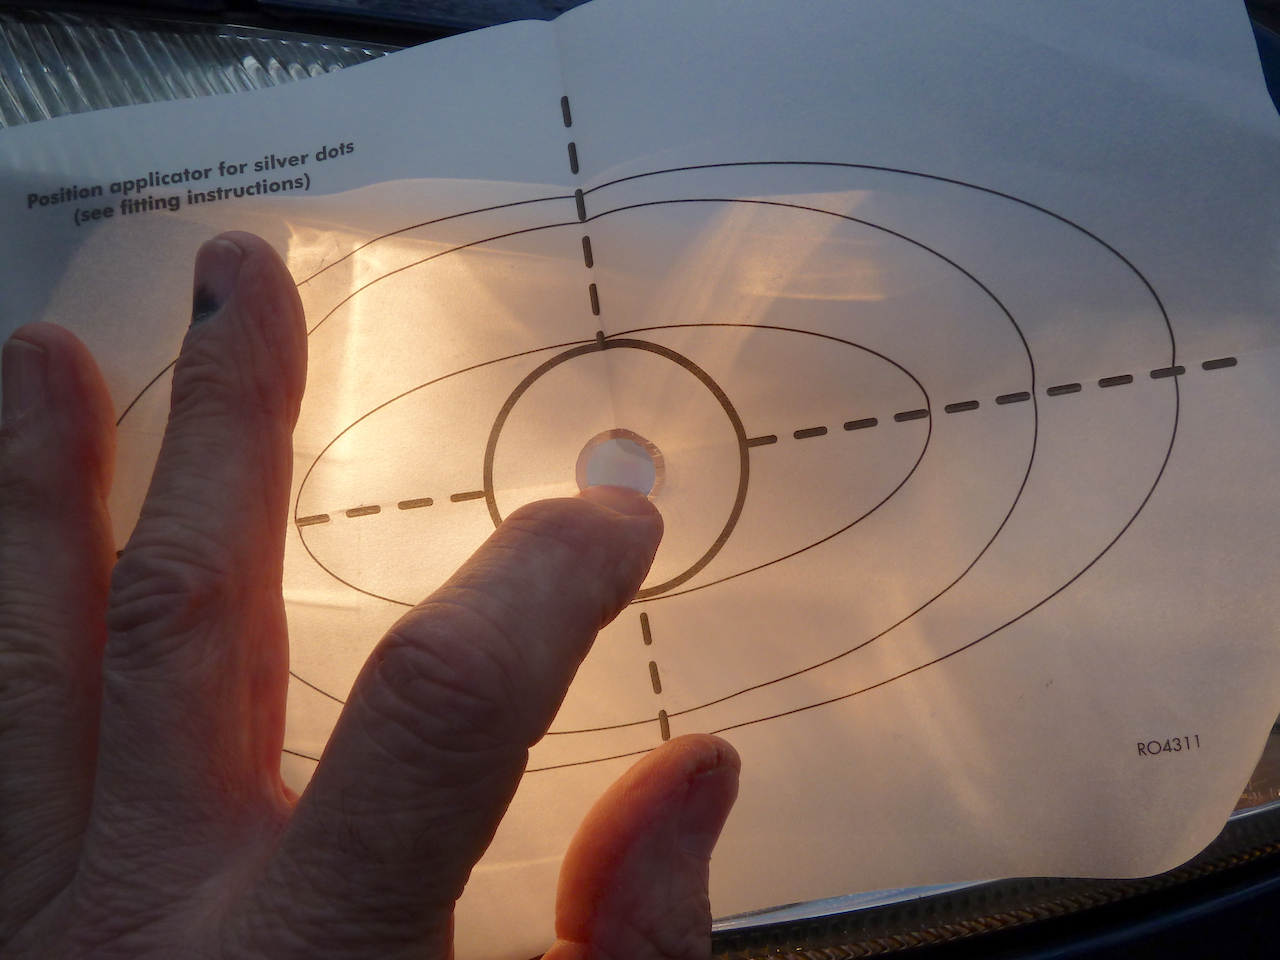 Thoroughly clean the headlamp (Note: my Vauxhall’s lamp lenses are made of glass, so I was able to safely use ‘spirit wipe’ solution intended for degreasing paintwork. With plastic lenses you need to be VERY careful what you use to clean them, to avoid damaging the lens!). With the headlamps turned on to dipped beam (only) the diffuser provided is positioned to show the distinct outline of the beam pattern (less distinct on older type lamp units). Adjust the sheet so that the hole aligns with the centre of the beam pattern or bulb. (Note: At this point I was concerned about possibly being dazzled while fitting, but the black centre of the bulb prevented this with my Zafira). An important and welcome note… The instructions advise that due to the design of the deflector, exact positioning of the converters is not critical.
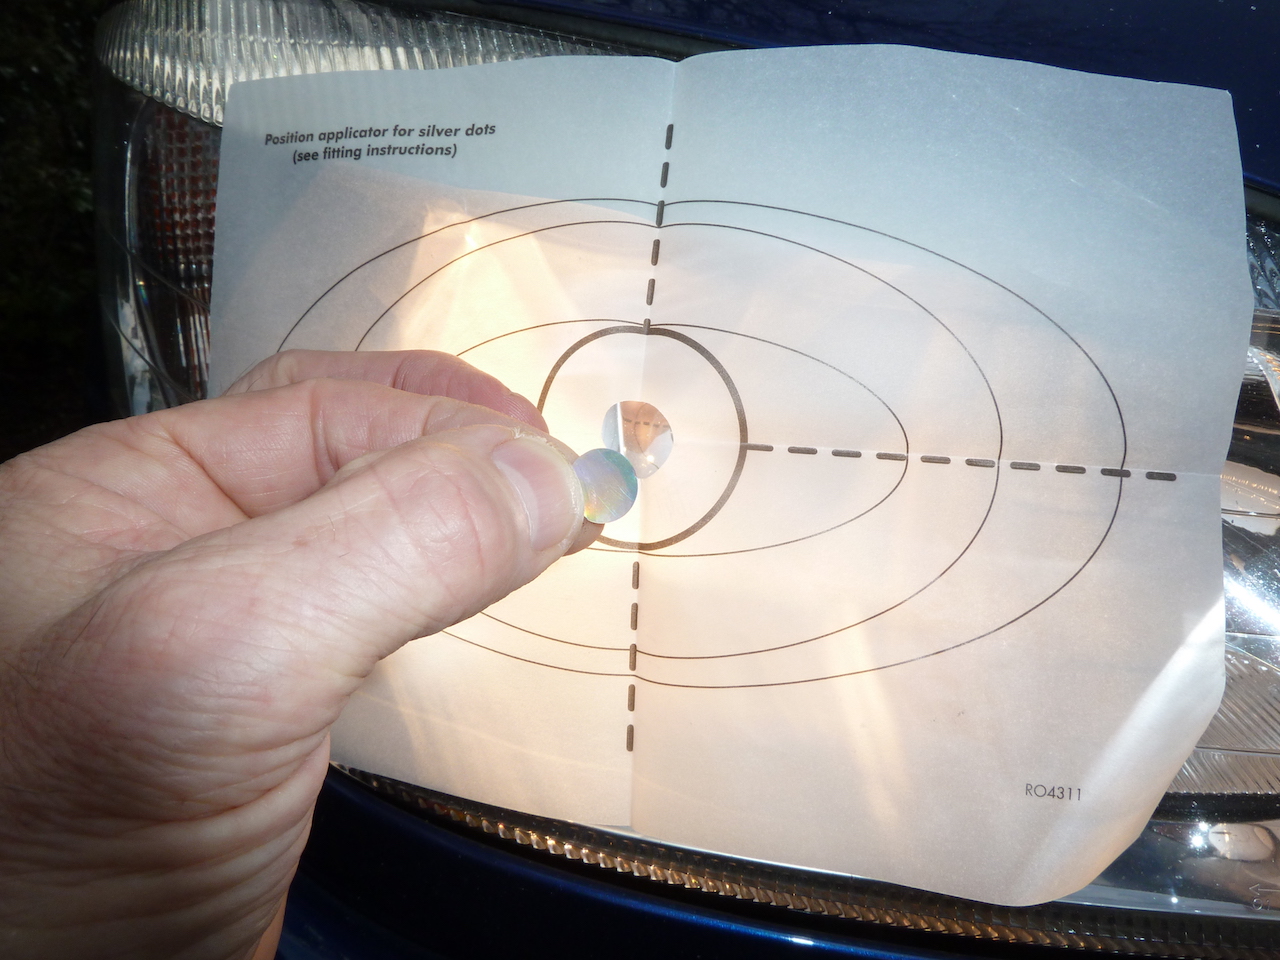 Sticky-backed silver-coloured reflective ‘dots’ are provided; on each headlamp one is applied to the lamp lens through the aperture in the diffuser sheet, to identify the correct position for the converter. It is then necessary to leave the headlamps turned on for at least five minutes (ideally run the engine to avoid draining the car’s battery!), for the heat thus created to assist in initial adhesion. Retain the diffuser sheet, as it will be needed for the other headlamp. Note from Kim: Keep track of the dots, especially if fitting on a windy day, as these are quite small and can easily be lost/blown away…
 Here’s the ‘dot’ being applied and pressed home.
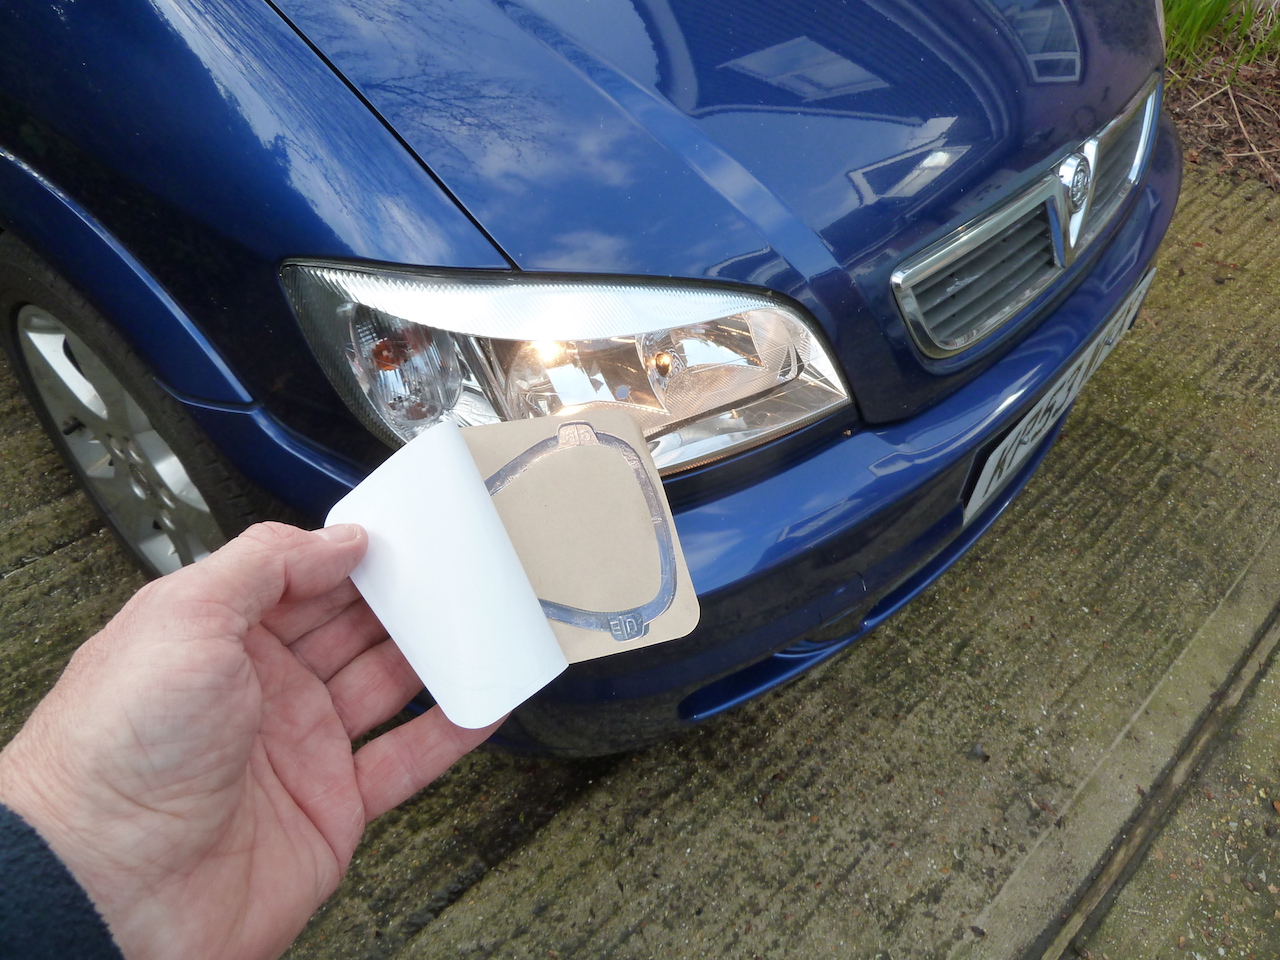 Now remove all backing papers from headlamp converter, taking care not to contaminate the adhesive sections
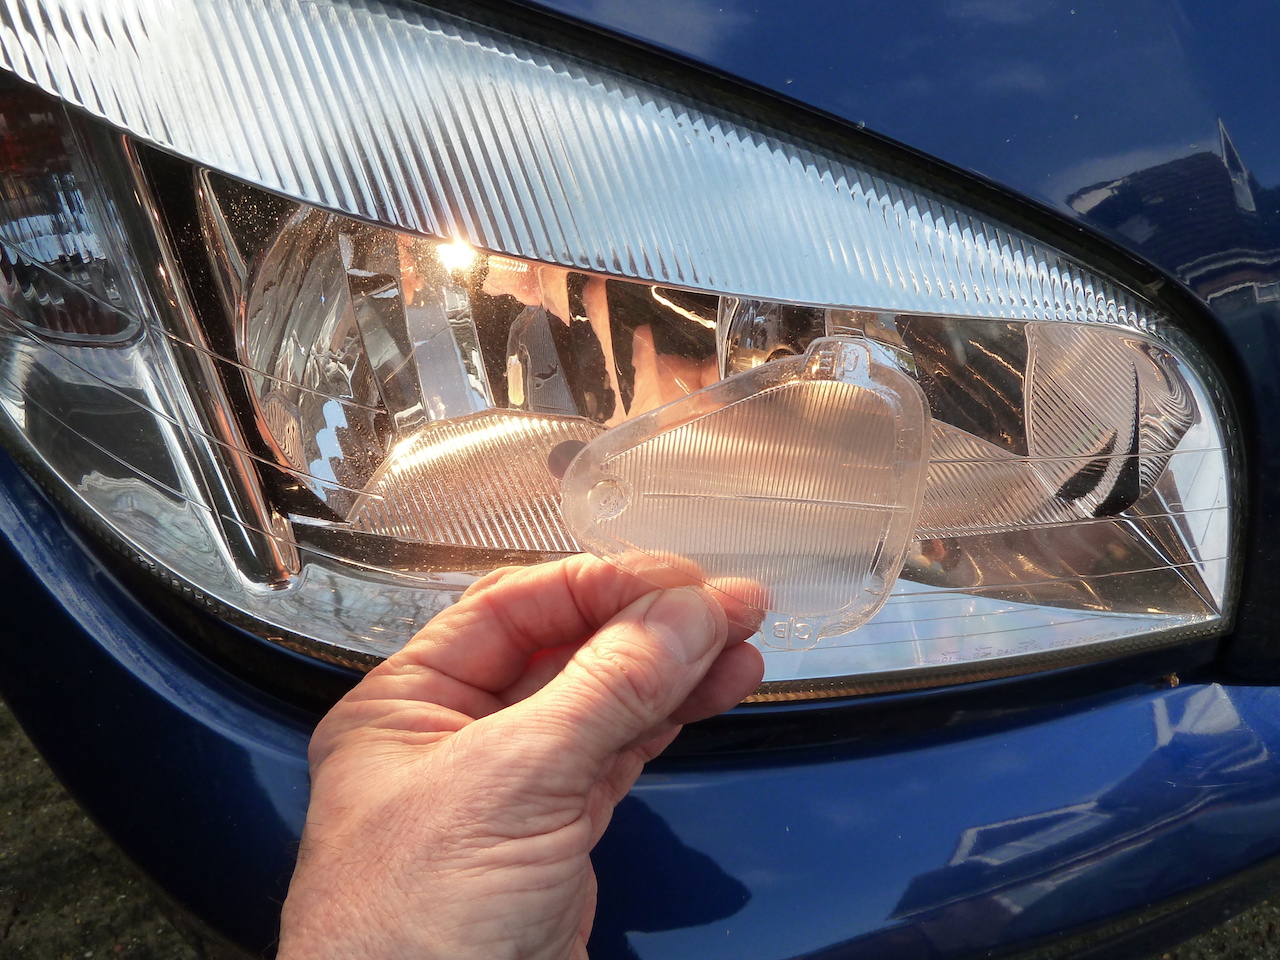 Carefully apply the converter to the headlamp, with the letters ‘EU’ at the top for driving in Europe (or ‘GB’ for driving in Britain). Use the horizontal line on the converter to aid correct alignment, and align the location circle on the converter so that it sits over the centre of the reflective dot already applied. However, don’t remove the reflective dot from the lamp.
 Apply firm pressure all around the edges of the converter, to make sure that contact is good, all around it.
 Job done! Repeat for the headlamp on the opposite side of the car. When you return to the U.K, removal of the converters is helped by turning on the headlamps; the heat will soften the adhesive, allowing easier removal. In fact on our Zafira the converters lifted off easily, leaving no troublesome residue. Note: Take great care not to damage the headlamps, especially those with plastic lenses, and DO NOT use tools, white spirit or any acetone-based cleaning compounds on these.
VERDICT
Just brilliant!
To be honest, having struggled in the past with regard to correct alignment, as mentioned, I was not looking forward to the job, but this time it was quick, oh-so-easy and painless. Removal of the converters (accomplished in seconds at Cherbourg, in the queue for the homeward bound ferry) was equally straightforward and rapid.
Wheels-Alive rating: ***** (Our Five Star top rating).
AN ALTERNATIVE…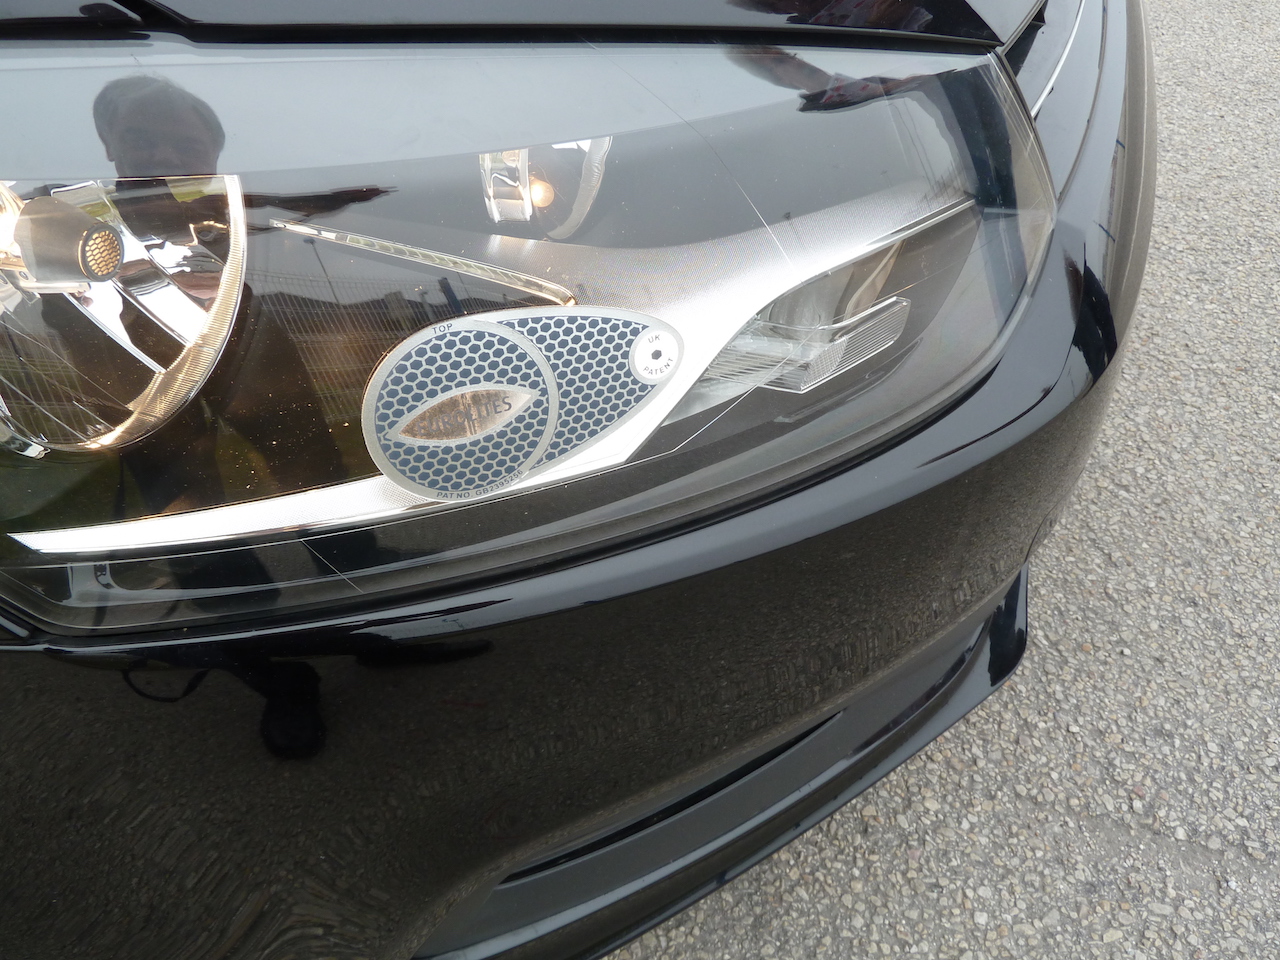
This feature is not intended to be a product comparison. However, accompanying us on our trip to France were some friends in their VW Polo and I was interested as by chance my pal Gerald had purchased some ‘Eurolites’ headlamp converters to use for this trip.
The following picture/caption sequence briefly highlights salient aspects… (Note: These photographs were taken on the quayside in Cherbourg, on an outward-bound excursion to France…).
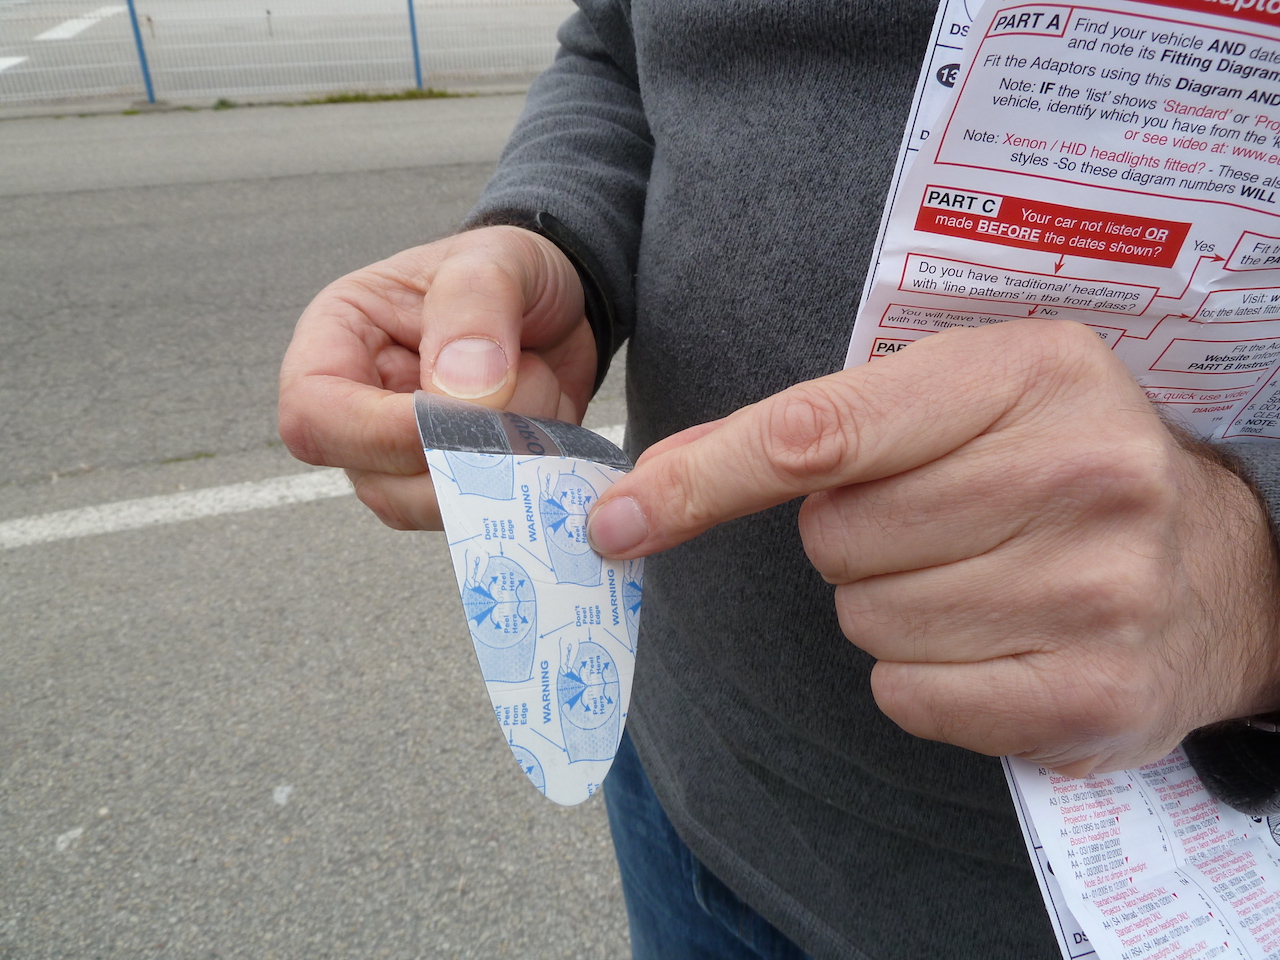 The instructions were carefully studied, and in accordance with these, the backing material was removed. Care is needed to avoid contaminating the surface of the converter to be attached to the headlamp lens.
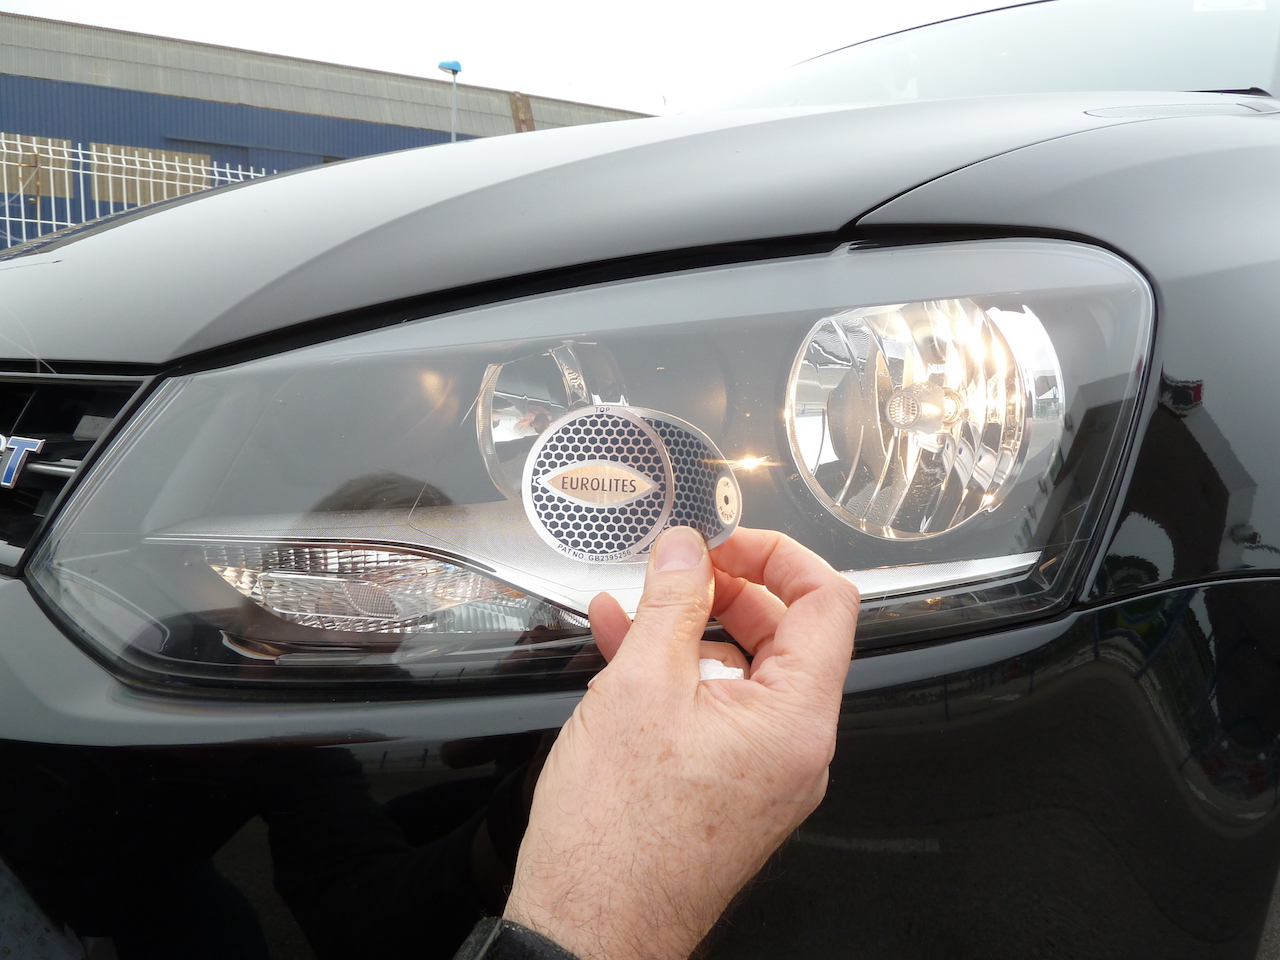 The converter is then applied to the headlamp, having worked out the correct position for attachment.
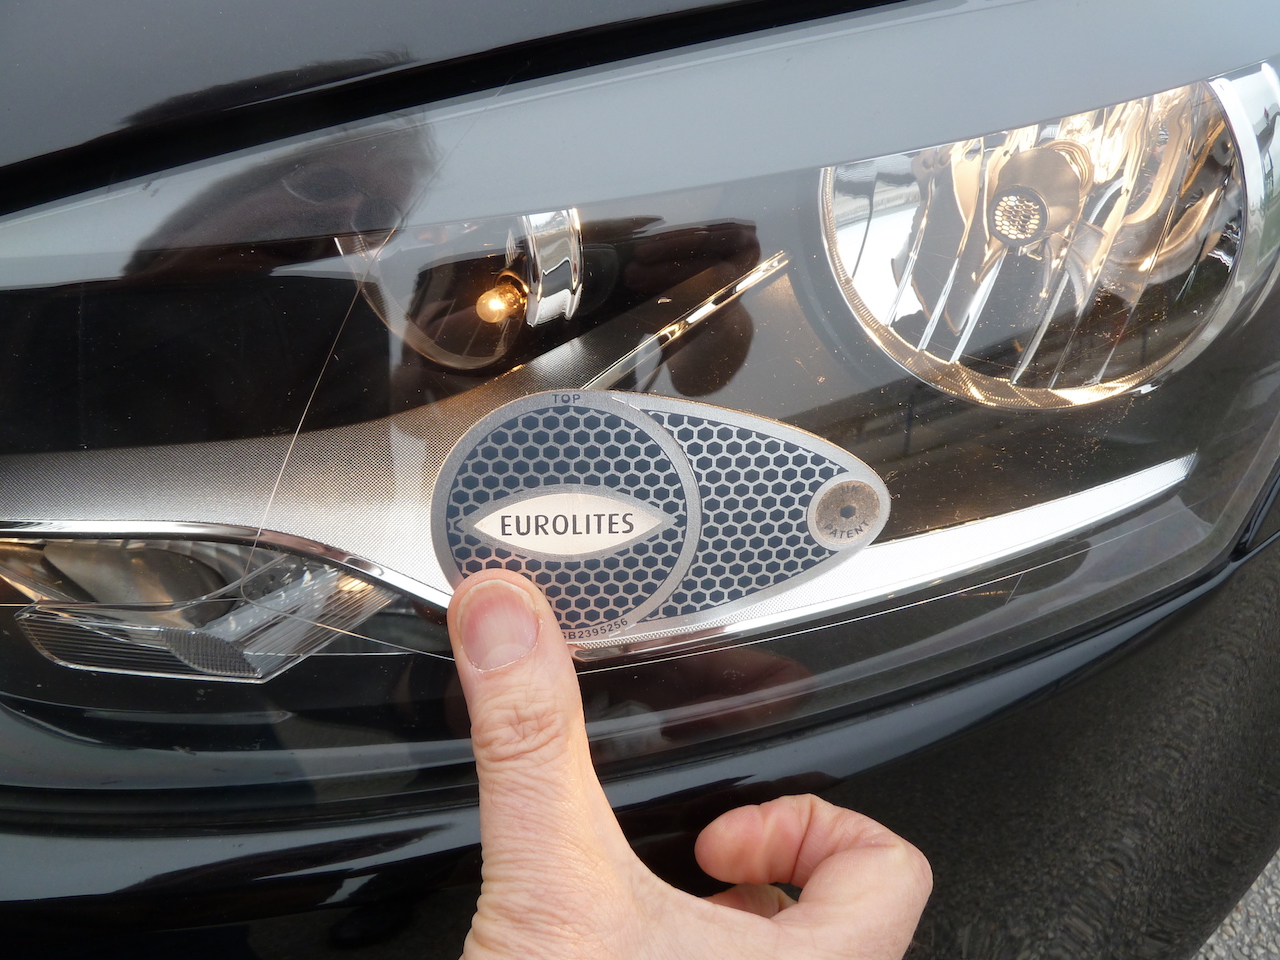 Firm pressure, applied by hand, ensures that the converters are fully and securely attached.
My pal Gerald’s independent verdict?
Gerald says that the Eurolite converters (typically costing between £4 and £8 per set of two, depending on the supplier) were a little tricky to align, but otherwise easy to apply and to remove. He paid £7.99 for his Eurolites (in a local shop), which he feels is quite expensive for short visits in summer months.
My thoughts?
I have previously used Eurolite converters, and they worked fine. Personally I found the items from www.headlampconverters.co.uk were easier to position, which made application particularly straightforward. I also like the fact that there’s some flexibility in alignment, plus the fact that the light beams remain bright as they are deflected, rather than partially obscured, to obtain the required result.
There’s more… Further reading to help you!
If you are planning to visit France with your vehicle, and especially if you are new to driving abroad, this website provides a wealth of useful information…