Hylton Reid explains how he installed a front anti-roll bar to his Austin A30 (the same techniques can be applied to the structurally similar A35).
(All text and photographs copyright Hylton Reid).
When the Austin A30 was first introduced it was fitted with an anti-roll bar to the rear suspension. The considered opinion was to remove this to improve handling and to fit a front anti roll bar.
It is worth noting that the same front suspension design was used right through the A30/A35 production years, from 1951 to 1968 inclusive, so the method detailed here applies to all A30/A35 models.
The Austin Healey Sprite/MG Midget used front suspension components that were based on, and essentially the same as, those of the A30 and A35, but with the addition of a factory-installed front anti-roll bar. Hence a supply of anti-roll equipment is available from Sprite/Midget sources, and the finished job using such components is shown in our heading photograph (‘Figure 1’, above).
I am upgrading the whole of the suspension to my A30, which includes a rear “A” frame and uprated suspension. To go with the uprated suspension, I have fitted an after market anti-roll bar, and this article is to document how it was done.
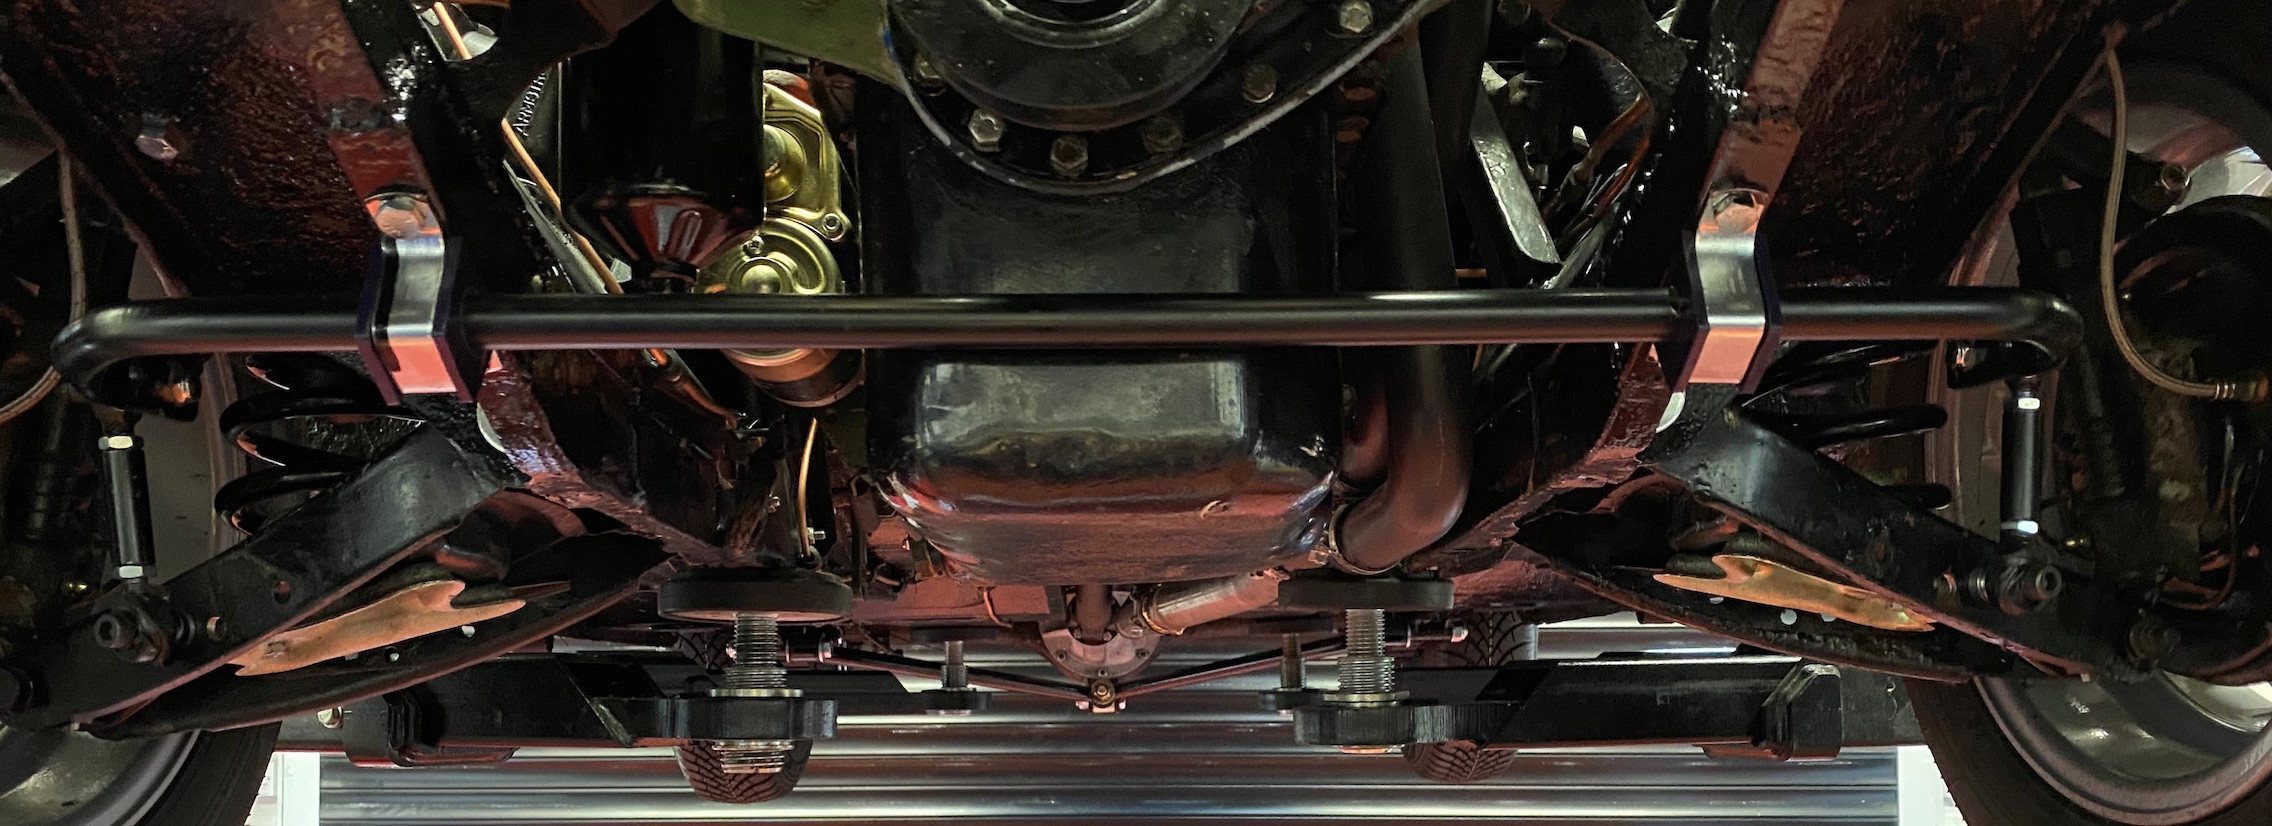
The first thing is that the front of the A30 and A35 chassis is completely different from that of the Sprite/Midget, which causes a problem of finding a location for the anti-roll bar itself. It is also important to note that, once fitted, the anti-roll bar is very near to the front of the A30/A35 sump, as you can see in the two photographs (Figures 2 and 3; taken from different angles) in the slideshow below:
You can use the front of chassis rails to mount the anti-roll brackets without additional strengthening if you use a ‘soft’ anti-roll bar. I ran like this for a number of years with a standard Sprite 9/16” diameter bar without any problems.
However, I am using stiffer front springs with Sprite lower suspension wishbones (which are also stiffer) and an 11/16” anti-roll bar with ‘poly’ bushes, so I decided to strengthen up the front of the chassis to avoid any distortion when driving hard.
Note that the top cap of the chassis rises upwards at the front and that the bottom rises slightly more steeply, such that the chassis becomes thinner nearer to the front of the car.
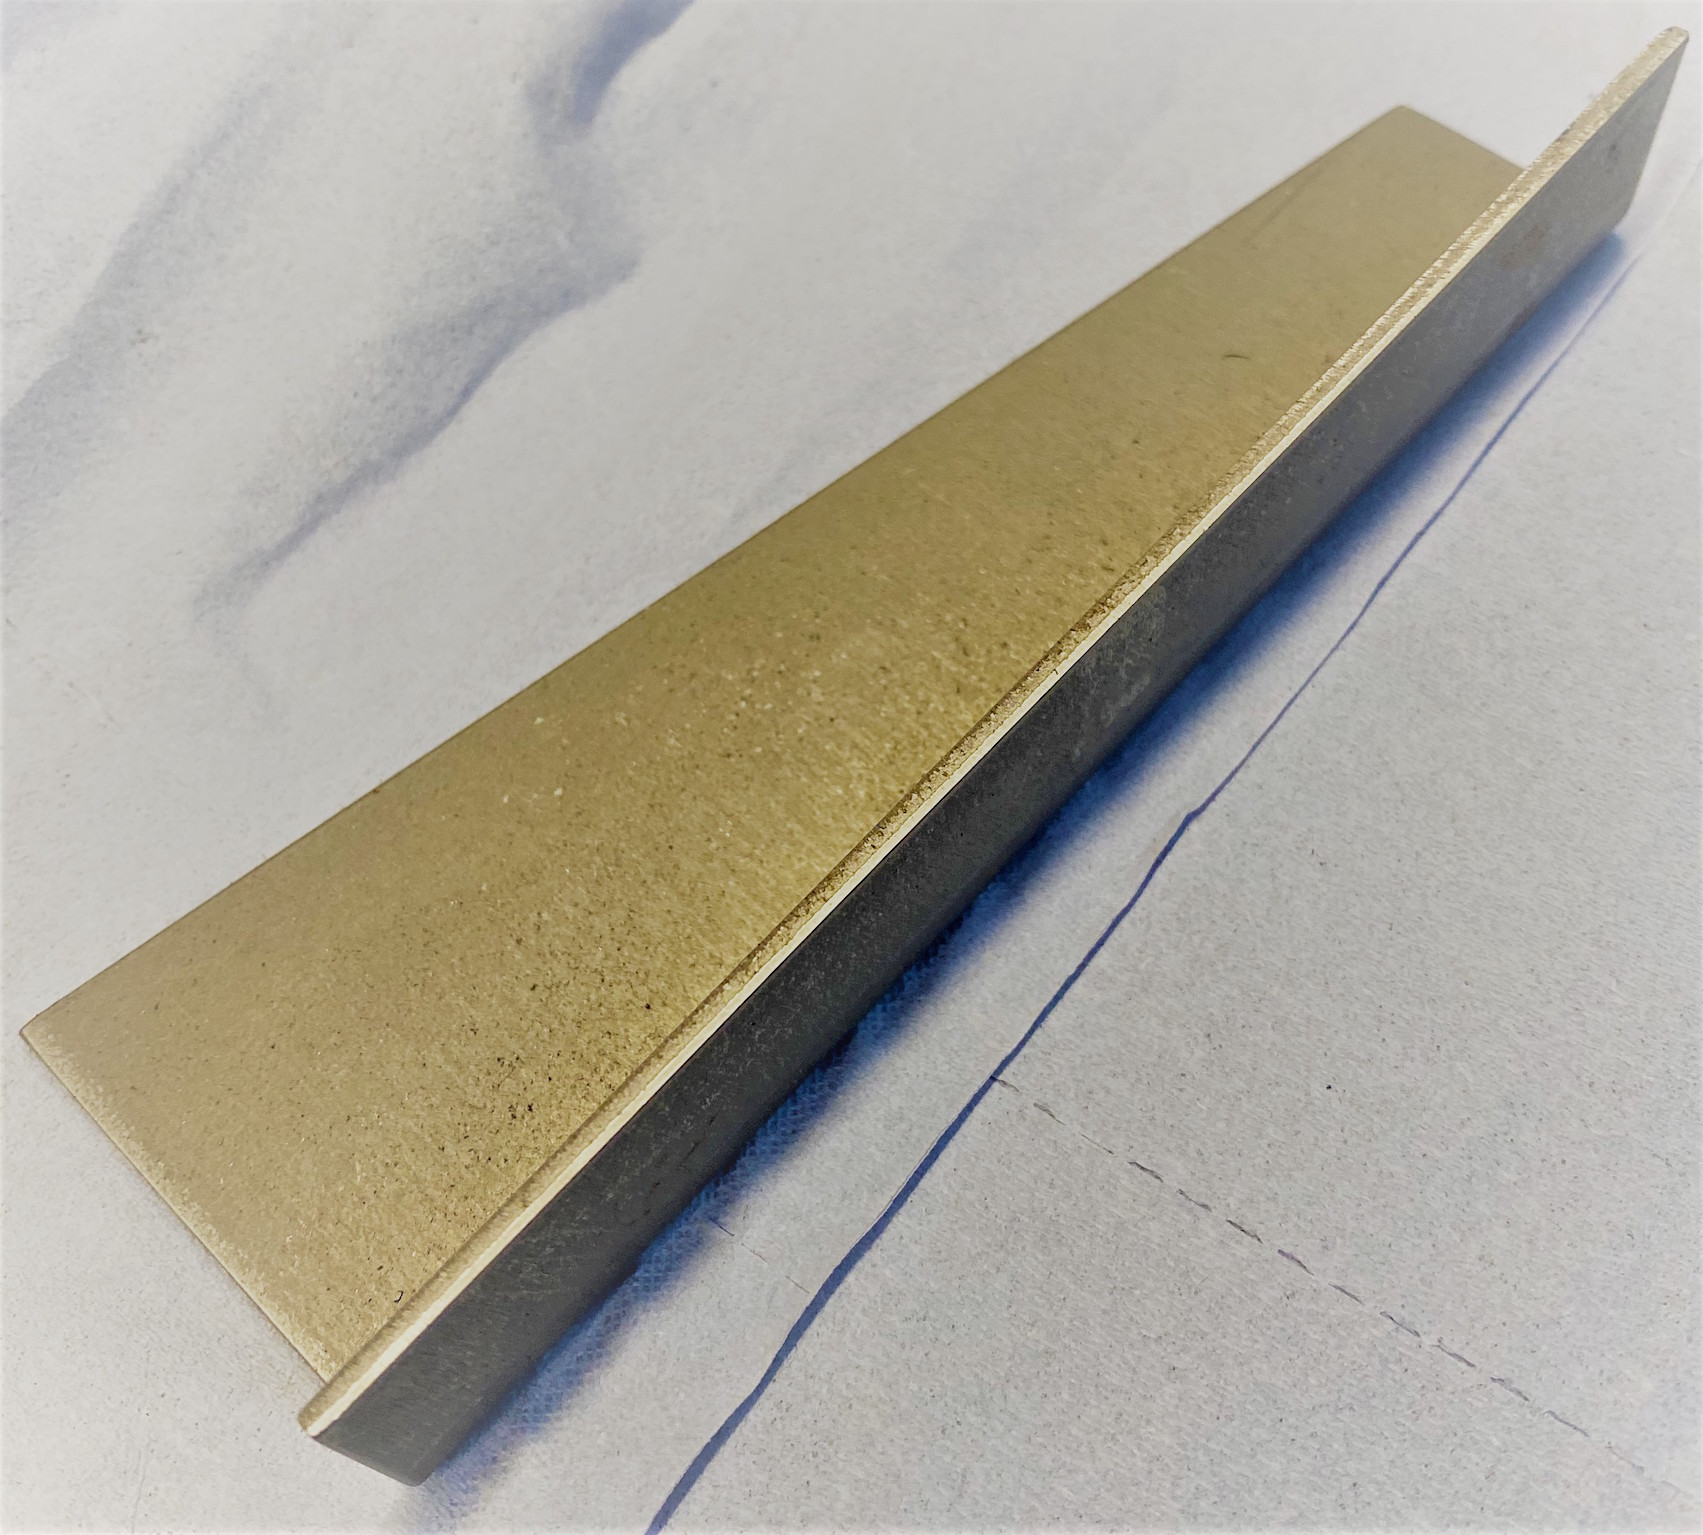
The strengthening bracket is just a piece of light angle of 0.080” (14 SWG) thickness, formed to 90° with a ‘Left and Right Hand’, and slightly tapered towards the front to align with the chassis.
It is about 4 1⁄2” long by 5⁄8”. This was tack welded all round and then drilled to suit the mounting holes for the anti-roll bar clamps. Shown below is the Right Hand bracket, driver’s side:
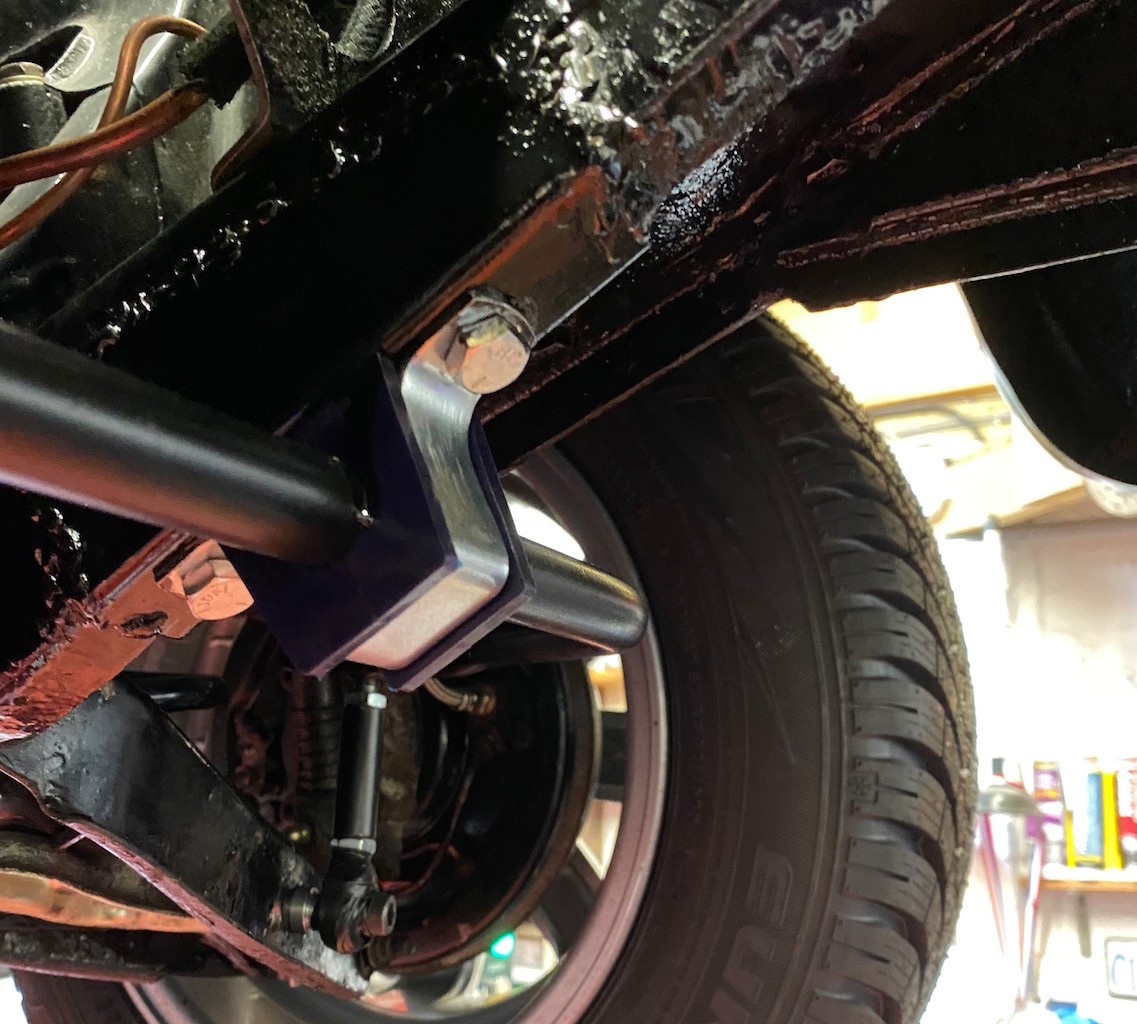
It is quite difficult to see the strengthening bracket, now that it has been welded in and painted (left-hand side of the car shown below, in Fig. 5):
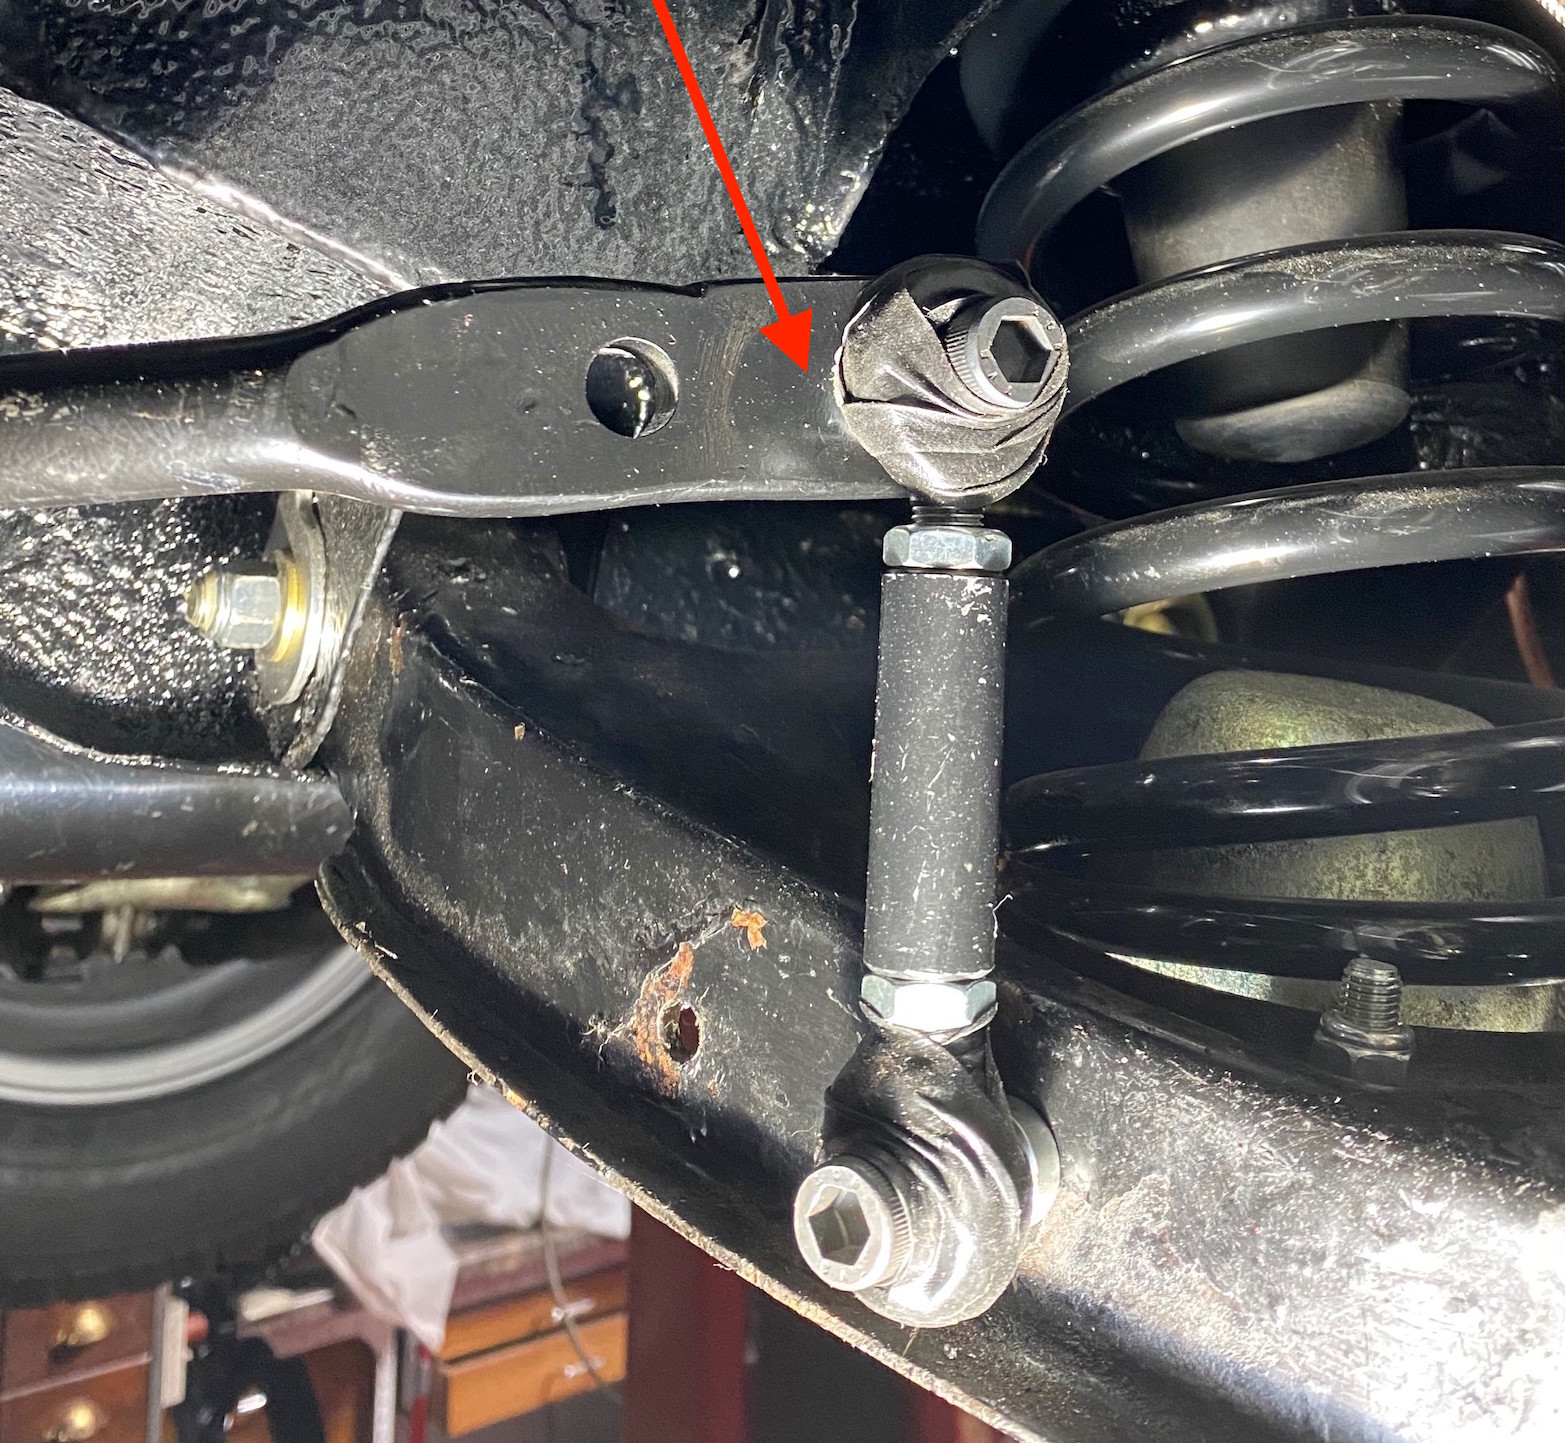
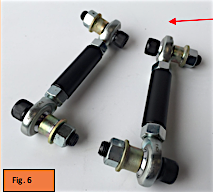 Standard drop links with the rubber mounting in them work fine, or, as in this case, spherical rod-end drop links (arrowed in Fig. 6, seen left) can be used which give a little less compliance.
It all depends on how stiff you want your front suspension to be.
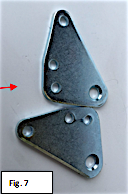
Sprite/Midget mounting plates (shown here and arrowed in Fig. 7, left) are not required as a result of the positioning of the anti-roll bar slightly higher up on the chassis rails.
Mount the lower end of the drop links directly into the front of the lower wishbone. On each side of the car I used the hole nearest the wheels (suitably opened out to take the mounting bolt), as shown below (Fig. 8).
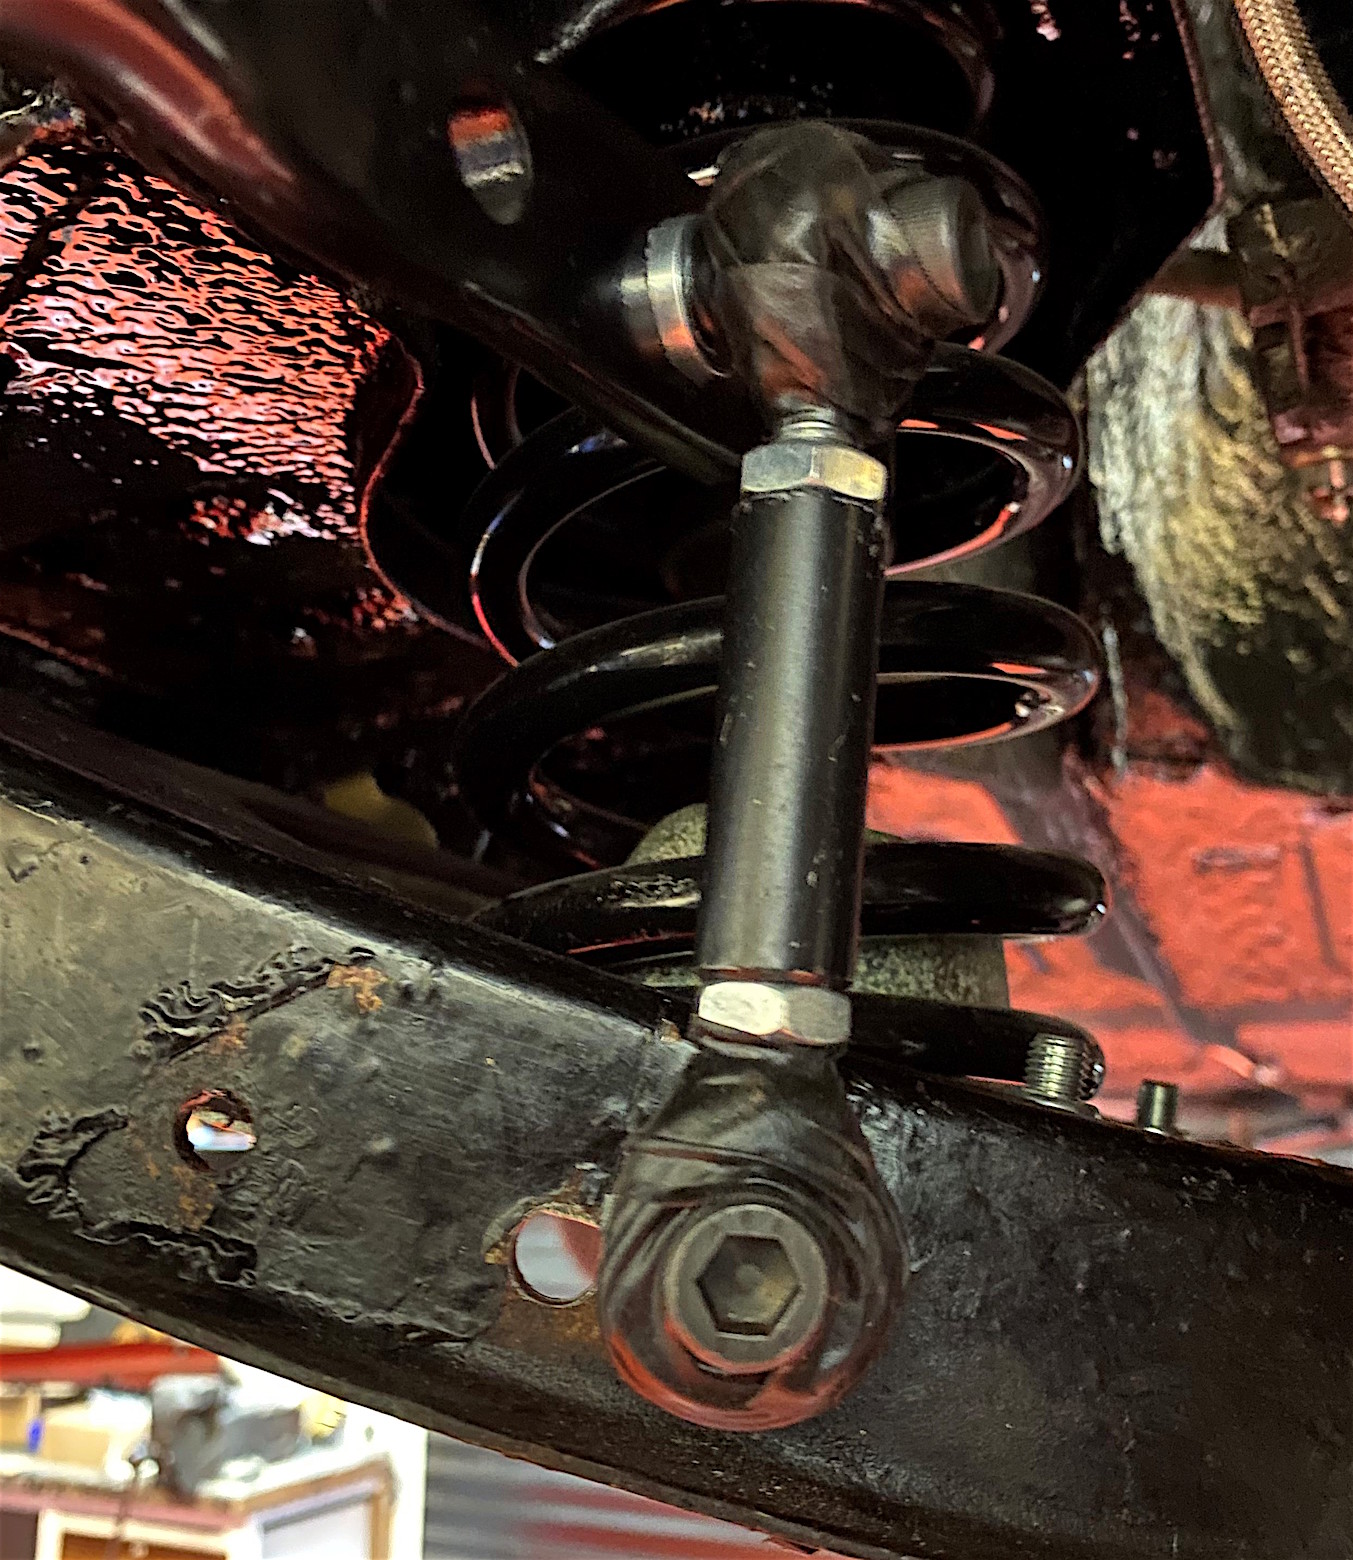
The sharp-eyed amongst you will have noticed that the spherical rod-ends are wrapped in tape to protect them. This is not, strictly, necessary, but it does increase their life. I use self-amalgamating tape which forms a waterproof wrap once it has cured.
In the photograph you can clearly see the wrapping of the self-amalgamating tape around the rod ends, and also the mounting of the drop link in the wishbone.
I had the rear arms of my anti-roll bar extended by 1” (as shown in the photograph below, Fig. 9, indicated by the red arrow) to make the alignment with the wishbones a bit better. I’m not certain that this was really necessary, since the drop links can be angled forwards without problems, particularly if using the original drop links. However, the rod-ends do not permit much angular movement against the mounting bolts.